Execute a Failover
Introduction
Executing a failover is a critical step in disaster recovery that requires precision, careful planning, and a clear understanding of the process involved. Once you have configured your failover type, the next phase is the actual execution, which ensures continuity of service and data integrity. This guide walks through running a failover using the Failover Wizard on the 2.15.0 Failover page, highlighting the key actions needed to maintain control over your environment during a disaster recovery event.
Pre-Failover Check
- Do not make any changes to SyncIQ Policies or Eyeglass Configuration Replication Jobs during failover, as this can lead to unexpected results.
- Eyeglass Assisted Failover has a 45-minute timeout for each failover step. If any step is not completed within this period, the failover will fail. This can occur if SyncIQ policies are already running or if the SyncIQ steps take longer than expected to finish. While the timeout duration can be adjusted, lowering it does not speed up the failover process.
- If configuration data (such as shares, exports, or quotas) is deleted or modified on the target cluster—especially Share names, NFS Alias names, or NFS Export paths—without running Eyeglass Configuration Replication, these changes may cause the source cluster to delete the object after failover. To prevent this, run Eyeglass configuration replication before failover.
Confirm whether this is a Planned or Emergency Failover before proceeding — see Controlled vs. Uncontrolled Failover for the underlying difference and which scenarios warrant each approach. Planned Failover corresponds to controlled failover (source cluster reachable, sets Controlled Failover: Yes); Emergency Failover is the uncontrolled side of the same switch.
To ensure data integrity during a failover, it is crucial to prevent client access to the Failover Source cluster.
Use the SMB Data Integrity option to disconnect user sessions on shares that will failover, and unmount NFS shares to prevent client access.
Configure and Start a Failover
Navigate to the Failover page and click the header Failover Wizard button. The wizard runs through six steps — see Failover Wizard steps for the full reference on each step's fields. Summarized here for the execution flow:
-
Superna Failover Support — read and confirm the Failover Release Notes, Best Practices, and Formal Support Policy before continuing. Superna Support requires 7 days notice of a planned failover so it can run a question-and-answer meeting and a technical readiness assessment beforehand — if you're discovering this requirement on the day of the failover, resolve that with Support before proceeding, not the wizard.
-
Source, mode & type — select the source cluster (its readiness status is shown inline), choose Planned Failover or Emergency Failover (see the warning above), and select the failover type — SyncIQ Policies, Access Zones, IP Pools, or DFS Policies.
-
Configure Failover Settings — choose the operation mode (Failover/Failback, Enable Rehearsal for a test failover using isolated copies at the DR site, or Revert Rehearsal to clean up after one), then review the per-type options:
Failover Options
Failover Option Default Description Controlled Failover Derived, not a checkbox Set automatically from the Planned Failover / Emergency Failover choice made in step 2 — Yes for Planned, No for Emergency. Not shown as an independent option in this step. Data Sync On Runs a final SyncIQ data sync job during failover. Quota Sync On Syncs quotas to the target cluster. Block Failover on Warnings On Prevents failover if warnings are detected during readiness/validation checks. SyncIQ Resync Prep On Prepares SyncIQ policies for failover and failback. Disable SyncIQ Jobs on Failover Target Off Disables SyncIQ jobs on the target cluster post-failover; leave off for automated failback, or enable if you plan manual failback steps. SMB Data Integrity — Applied at the Pre-flight Validation step below (identifies open files/active processes on SMB shares in scope) rather than as a Configure Failover Settings checkbox. The legacy Config Sync option is not part of this list — it was already disabled starting in release 2.5.6, before the 2.15.0 redesign.
-
Select Items to Failover — confirm the specific recovery objects (policies, Access Zones, IP pools, or DFS policies) in scope for the failover type selected in step 2, with Name, Source, Target, Estimated Time, Last Check, and Status columns; ready items sort to the top.
Block Failover on Warnings is on by defaultWith Block Failover on Warnings selected on step 3 (its default), an item whose status is Warning cannot be selected on this step at all — its checkbox is disabled and the row stays greyed out, so the running-selected-items counter stays at zero and Next stays dimmed until you either resolve the warning or clear the option on step 3.
Clearing Block Failover on Warnings makes a Warning-status item selectable again, but it does not clear the warning — it removes the interlock. Pre-flight then warns you instead of stopping you (see step 5): the condition that produced the warning is still true, and what changes is who is responsible for it.
-
Pre-flight Validation — re-verifies readiness against the configuration just built. When SMB Data Integrity applies (failover types with SMB shares), this step also identifies any open files or active processes that may impact the failover, so they can be reviewed before proceeding. If Block Failover on Warnings was cleared and a selected item is in Warning, pre-flight reports that validation passed with warnings, that the overall failover status is WARNING, and that continuing may lead to an incomplete failover or result in loss of data — review the readiness information and warning descriptions before deciding whether to continue.
-
Review and Confirm — a summary of the complete configuration (source, failover mode, selected options, and recovery objects). The Options card here reads back six rows, not five — it adds the derived Controlled Failover row (from the mode chosen in step 2) to the five step-3 checkboxes. Watch the Block Failover on Warnings row specifically: a value of No is the one place a cleared safety interlock becomes visible before the failover starts. This step carries a data-loss warning banner and an acknowledgment checkbox — this is the only gate on the Start Failover button, and the point of no return.
warningThis is the point of no return. Be sure you are ready for failover before proceeding.
Once started, the failover steps can be canceled, but the resulting recovery steps will be manual.
Read and check the acknowledgment, then select Start Failover to begin the job.
Canceling FailoverUse this only if directed by support.
Canceling a failover requires manual recovery of networking policy state, shares, SPN, and SmartConnect. Support is unable to assist with recovery from intentionally canceling a failover.
Monitor a Failover
In-Progress Failover
- Once a failover has been started, monitor its progress on the Failover → Runs tab, where the run's outcome and progress bar sit together — a run can reach 100% and still finish Complete with Errors, since finishing and succeeding are different things here.
- Select the running failover's row to open its Progress, Job Tree, Logs, and SyncIQ Reports tabs in the panel below. Each answers a different question:
- Progress — how far did the run get. It shows the five numbered steps (Stop I/O & Pause Replication, Final Data Sync, Make Target Writable, Redirect Clients, and Setup Failback Replication, marked Optional), each with a pass/fail indicator, plus a separate Post Failover Operations group below them that passes or fails independently — a run can show all five steps green and still fail here. Its six sub-operations are skip configuration replication, policy failover, post failover inventory, transfer pool mapping, policy validation, and fetch reports; expand it every time rather than stopping at the five main steps.
- Job Tree — which step broke. The run expands into nested steps with their own duration and status, and the error text appears inline on the step that failed; everything below the failure point shows no duration because it never started.
- Logs — what exactly happened, and what to attach to a support case. Timestamped INFO and ERROR lines, with the settings the run was launched with echoed at the top (including whether Block Failover on Warnings was on or off for that run) and a job summary at the bottom, plus Download and Copy.
- SyncIQ Reports — generated only once the failover completes; an empty tab on a run that's still in progress, or one that never started, is expected, not a missing report.
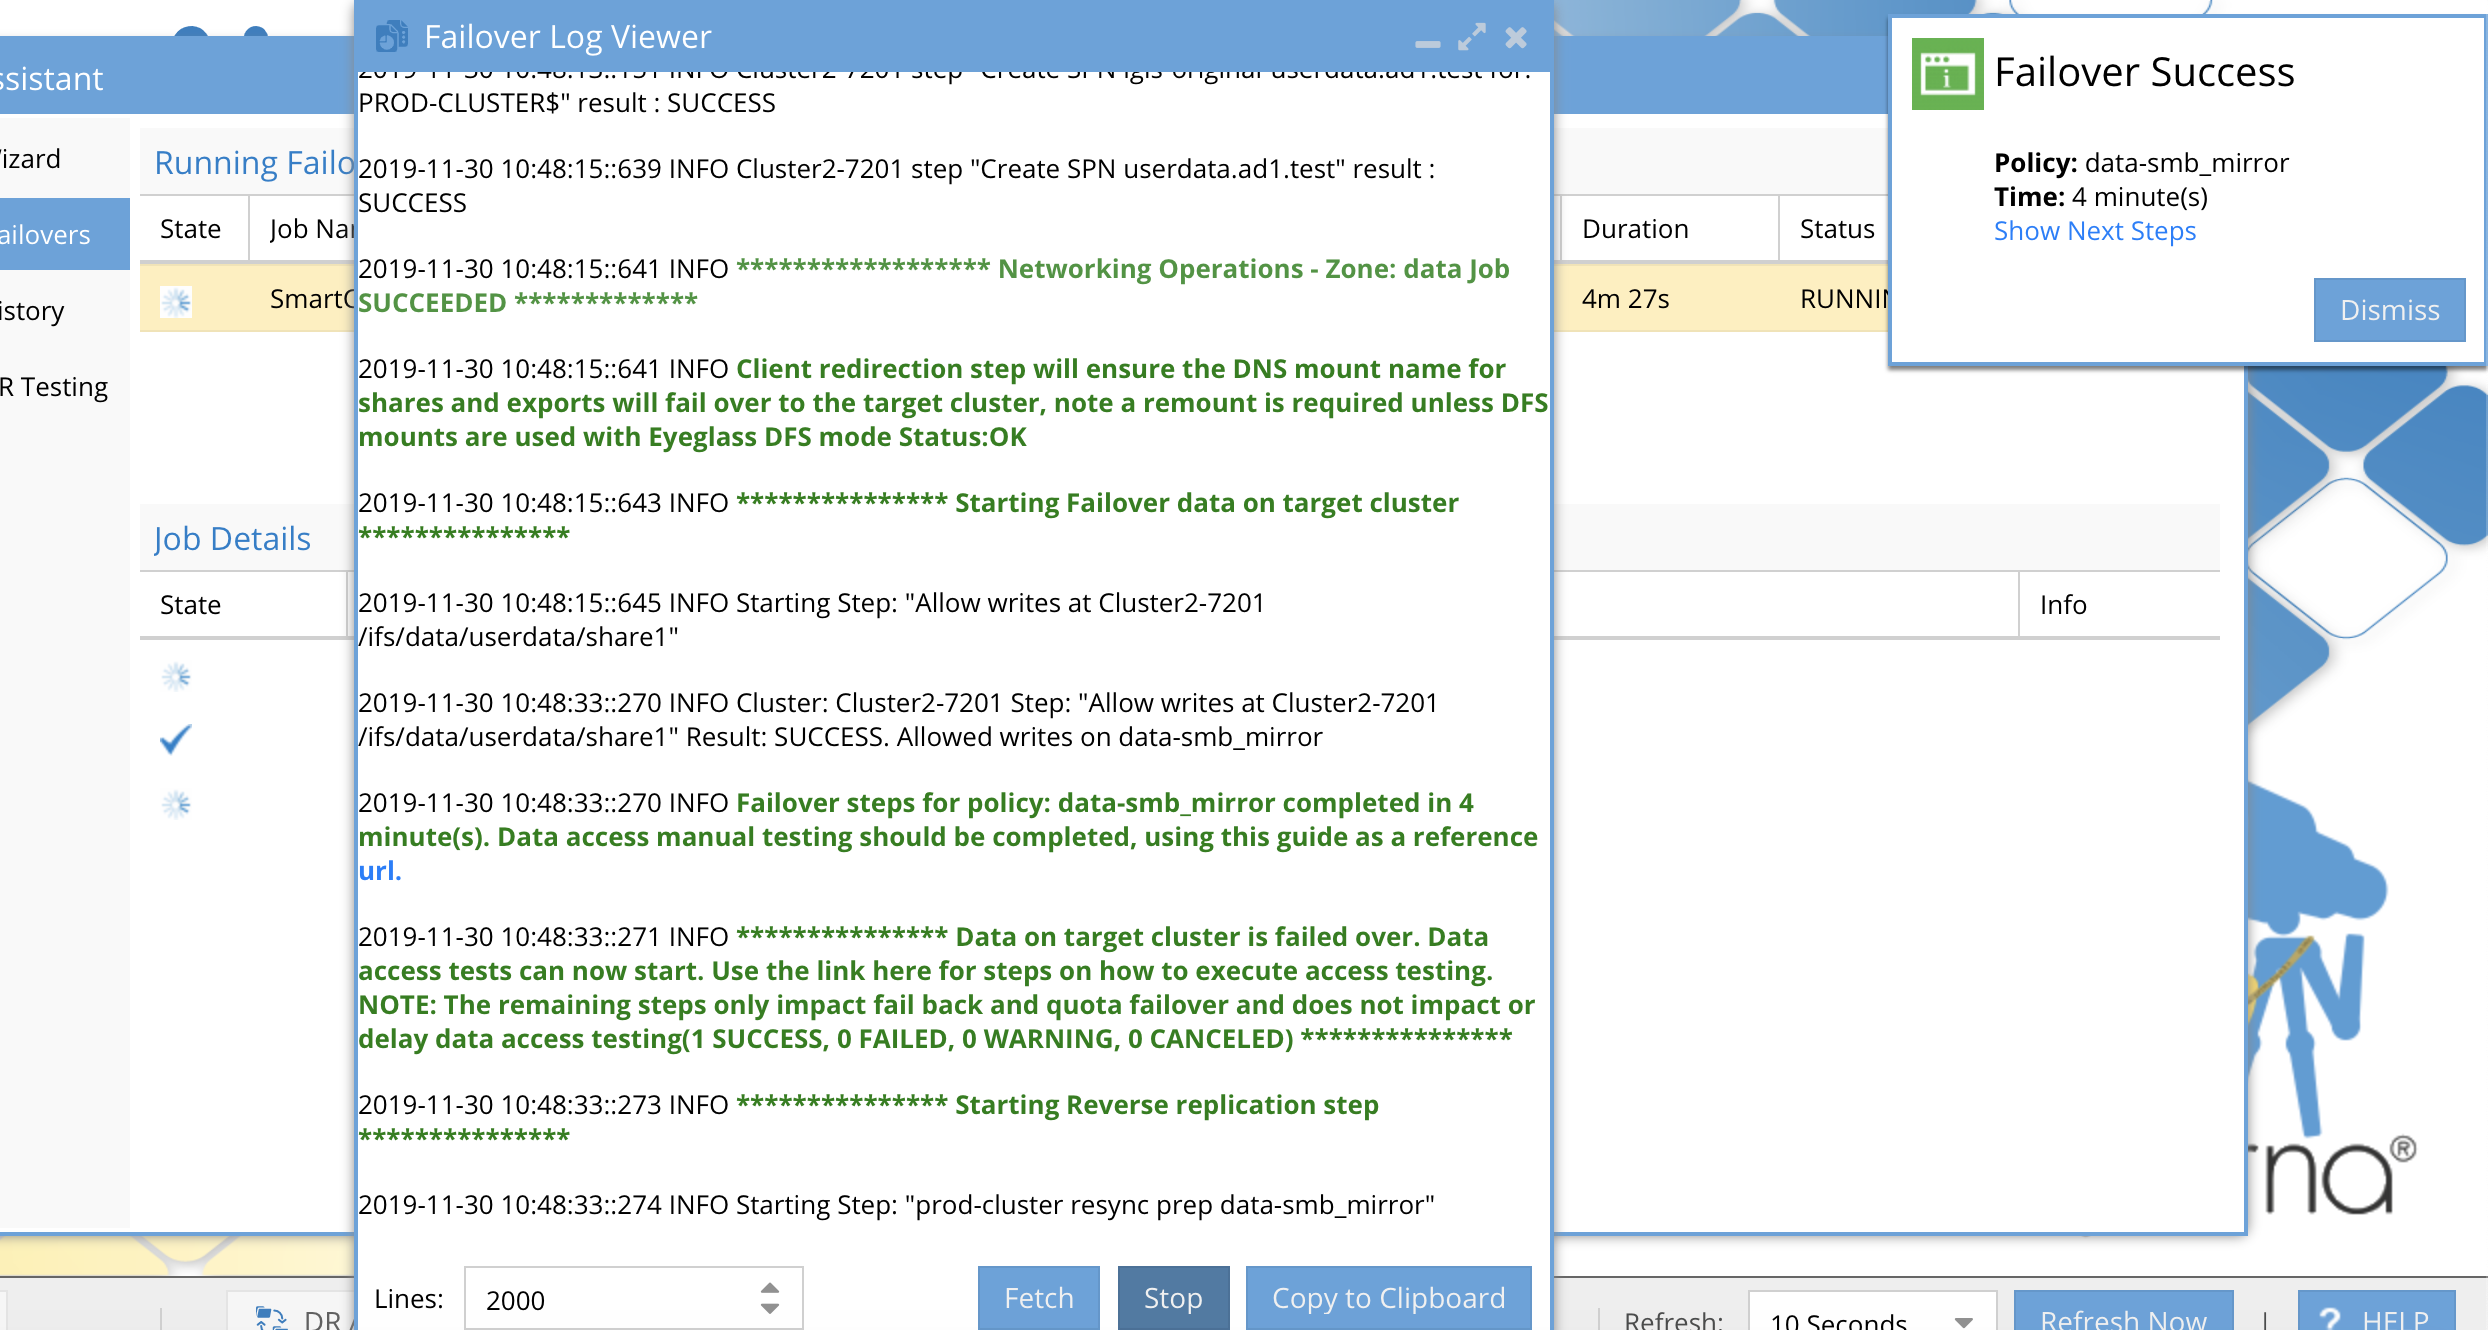
- If there is an error during failover, an Eyeglass System Alarm will be issued. You may find these alarms wherever you have configured them (email, or otherwise), or you can consult the Alarms page.
Completed Failover
- Once a failover completes, its row on the Runs tab reflects the final status — success, failure, or Complete with Errors at 100%, which means the run finished but did not fully succeed. Read the whole summary rather than the percentage alone.
- Select the row to review the Progress, Job Tree, Logs, and SyncIQ Reports for that run — see above for what each one answers.
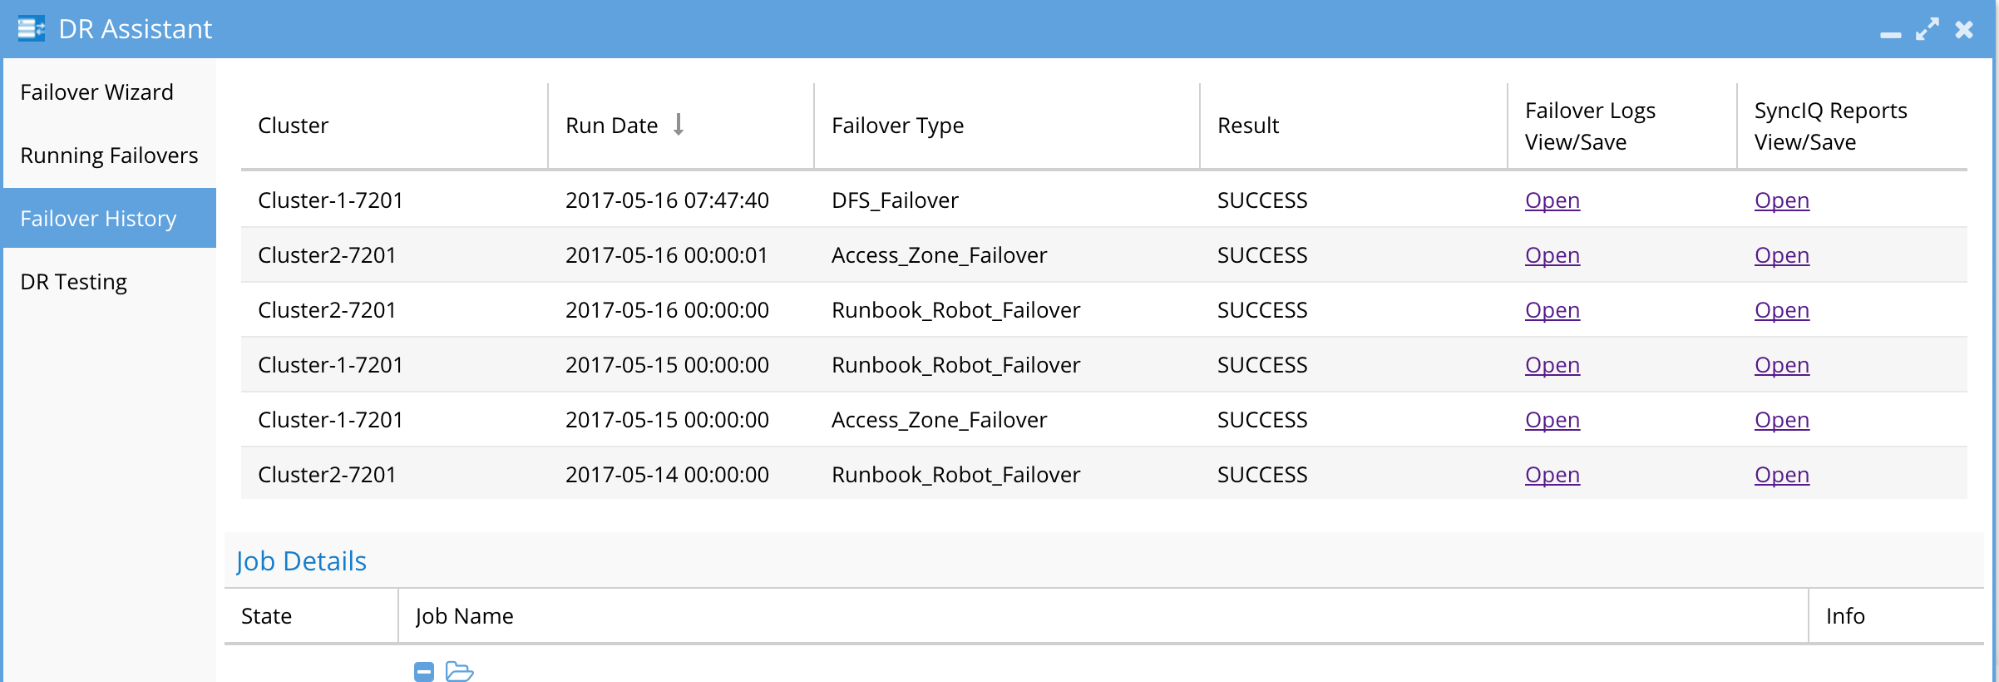
An Access Zone Failover with a result of SUCCESS may have had SPN errors. Refer to Check for SPN Errors for more information on how to verify this.
Failback
Failback runs through the same Failover Wizard, with the Failover/Failback operation mode selected in step 3 and the source/target relationship reversed relative to the original failover (the site you failed over to becomes the source; the original production site becomes the target).
Two Configure Failover Settings options directly affect whether an automated failback is possible:
- SyncIQ Resync Prep (On by default) prepares SyncIQ policies for both failover and failback — leaving this on is what makes an Eyeglass-assisted failback possible at all.
- Disable SyncIQ Jobs on Failover Target (Off by default) — leave this off if you intend to run an automated failback later; enable it only if you're planning manual failback steps instead.
Next Steps
After the failover process, it's important to check that your environment is functioning correctly and that all data is in the right place. Verifying that everything matches your disaster recovery plan helps ensure data integrity and keeps your operations running smoothly.
See the Post-Failover Steps documentation for more information.