Audit Tasks
This section outlines standard Superna Data Security Essentials procedures for creating a Data Security Essentials task. You can choose the specific data you want to collect in your database, or set up a single global audit task to track all data.
-
Access Audit Tasks
In the Data Security Essentials menu, click on Audit Tasks. -
Create New Task
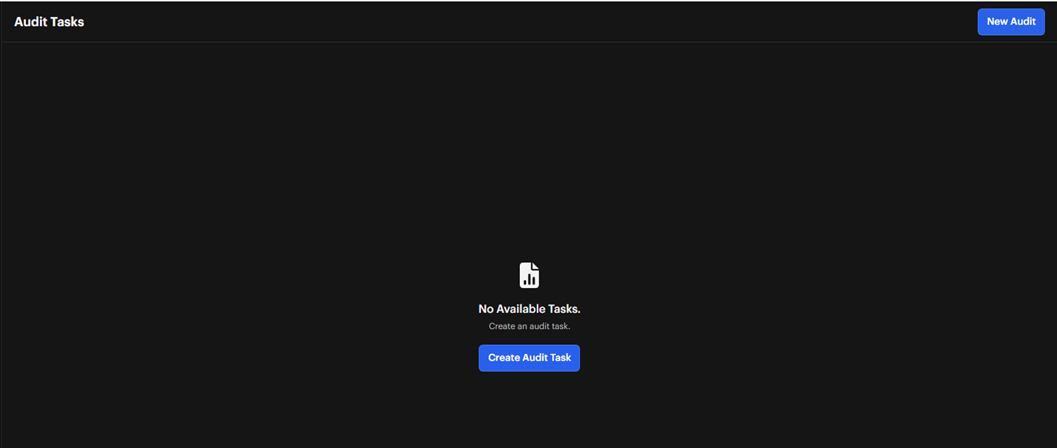
Click on the New Audit button to create a new audit task.
When testing tasks you have created, use an account different from the one used by Data Security Essentials services.

Properties
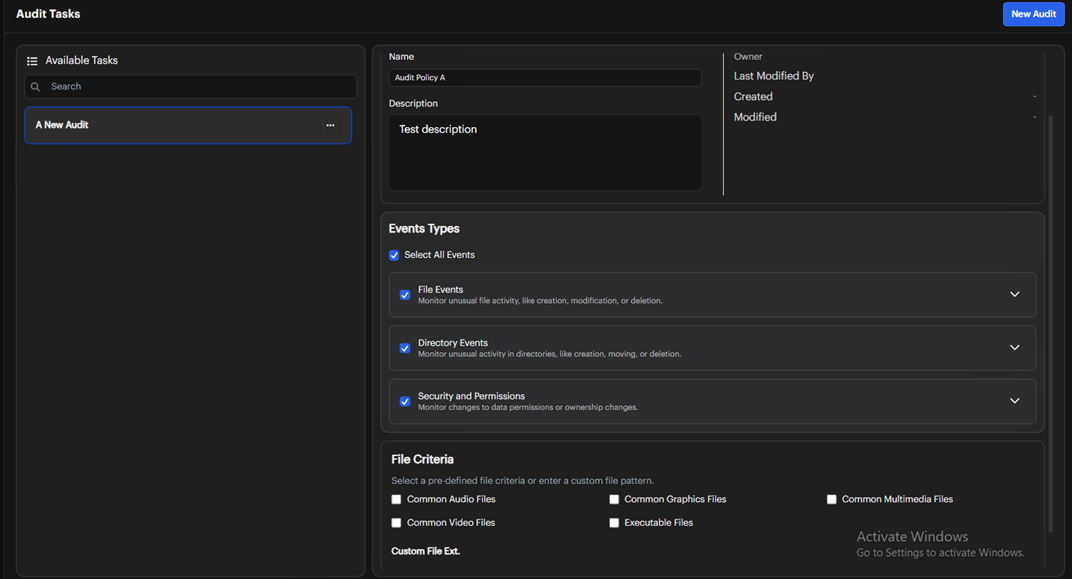
When you create a new audit task, it will appear in the list on the left. Start by filling out the Properties tab:
- Define the Task Name
Enter a name for the task. - Optional Description
Add a description if desired. - Select Monitored Events
Choose the event(s) you want to monitor from the provided list. We recommend selecting all events to enhance the effectiveness of policy triggers. - Add File Criteria
Scroll down to specify file types based on their extensions, or leave this section empty to collect all events. Examples of custom patterns:*.*for all files*.rtf, *.docfor Word files only
If the Patterns list is empty, the task will audit all files.
After configuring these settings, save your changes and proceed to the next tab.

Directories
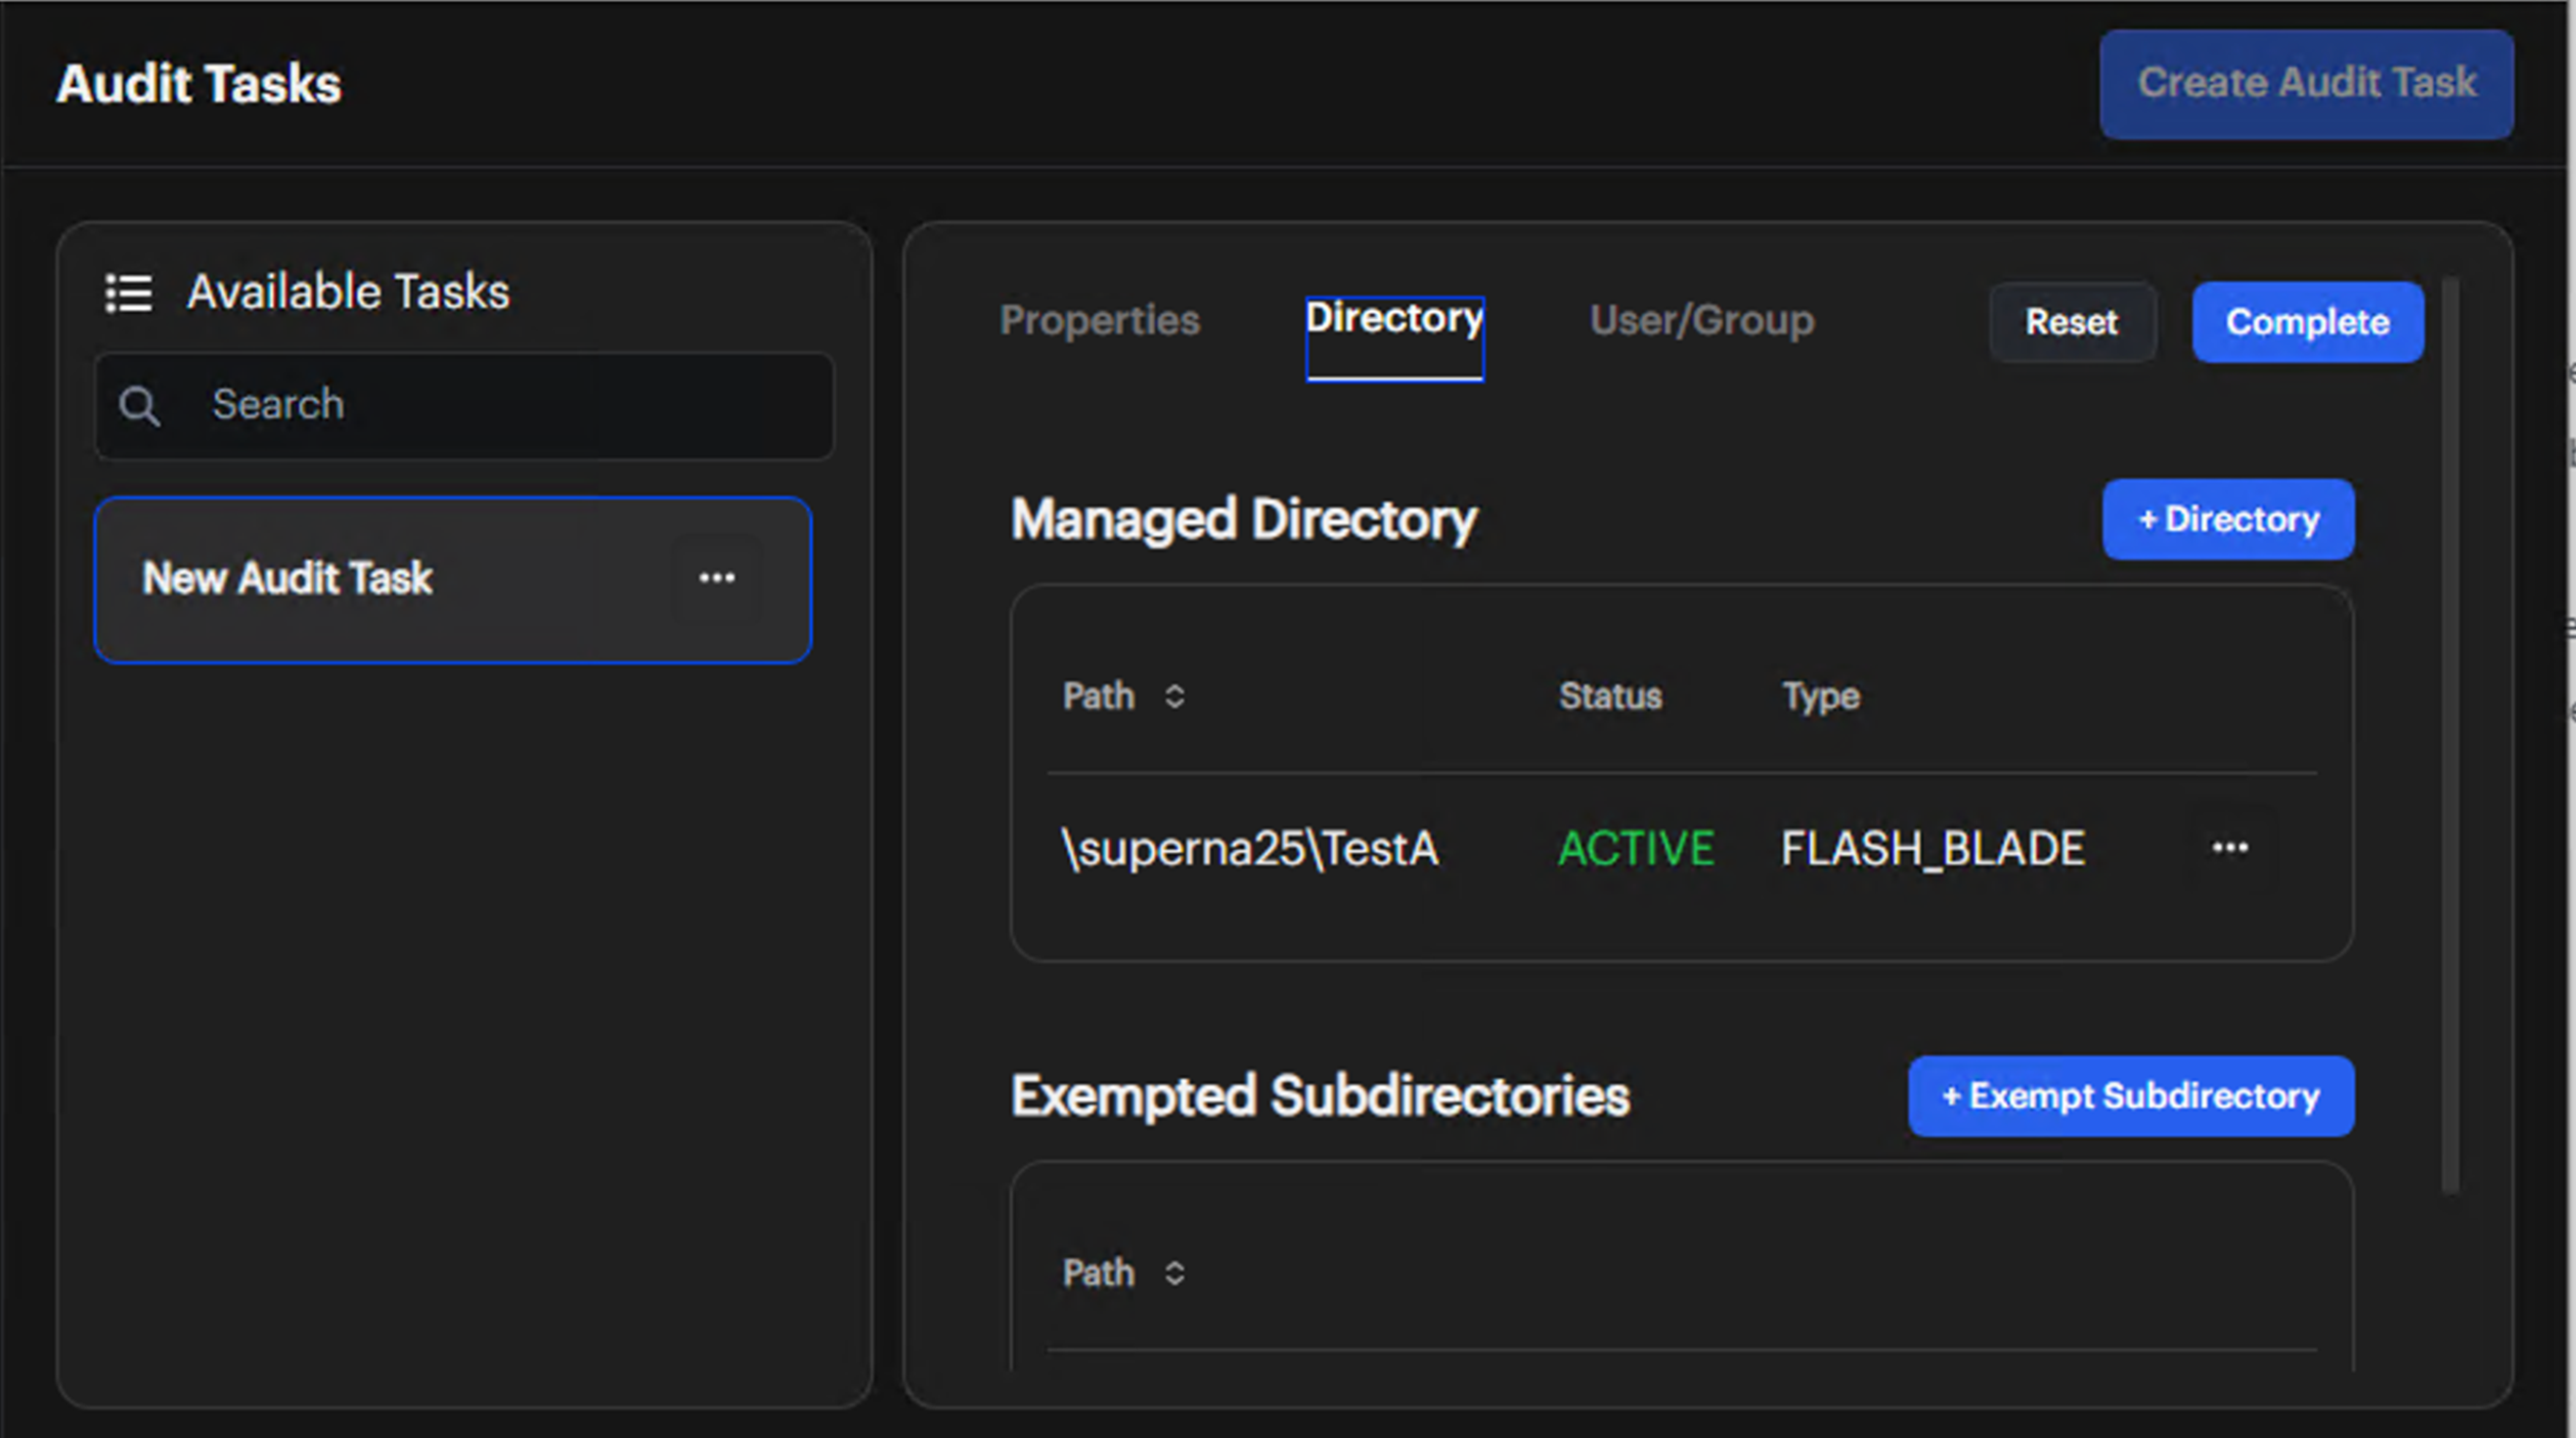
Select the Directories tab to access detailed settings for directories.

Managed Directories
-
Add Monitored Directories
Click the Add button and enter the directory paths you want to monitor for events.
-
Configure User Scope
By default, tasks apply to all users. You can configure users and groups by clicking on the Users tab.
For the FlashBlade/FlashArray platform, the directory path format is \file_system\optional directory\optional subdirectory.
At least one managed path is required, leaving this empty does NOT monitor all paths. If you want to monitor all paths under a file system add \file_system as the path.
Exempted Subdirectories
To exempt specific subdirectories from monitoring:
-
Add Exemption
Click the Add button and enter the name of the subdirectory you want to exempt from auditing. This subdirectory will be appended to each directory specified in the Directories tab.
noteEnter only the subdirectory name to exempt, not the full directory path.
Exempting directories from auditing can serve several important use cases:
-
Performance Optimization: Reduces the auditing overhead on high-traffic directories that generate a large volume of data, enhancing system performance.
-
Compliance Needs: Helps align with regulatory requirements by excluding directories governed by different compliance standards.
-
Allowlisting: Excludes certain directories from auditing to avoid unnecessary detection entries related to routine operations.
After configuring exemptions, save your changes and proceed to the next tab.
Users
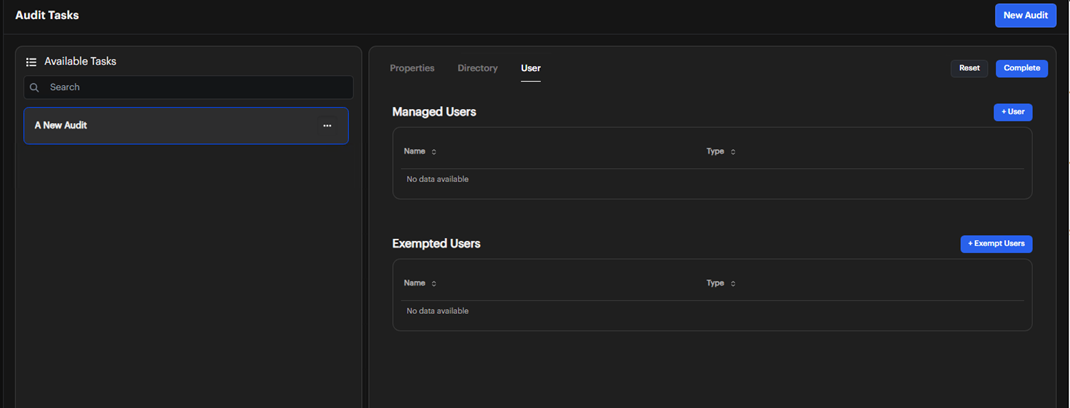
Select the Users tab to view detailed settings for users.

Managed Users
Add the users or groups that you wish to audit within your environment.
If you don’t add any users or groups, all users will be audited by default.
Exempted Users
Typically, administrators, backup operators, replicators, and the system account are exempt from policies.
-
Change Existing Exemptions
Click the button to the right of the entry and select Delete or Modify as needed. -
Add New Exemption
Click the Add button, enter the name of the user or group, select the type, and click the Managed Users button. The selected user/group will then be added to the exempt users list.
Exempting users from auditing can serve several important use cases:
- Compliance Needs: Align with regulatory requirements by excluding specific users that are governed by different compliance standards.
- Testing and Development: Exempt users involved in testing or development to prevent their actions from cluttering audit logs and impacting analysis.
- Allowlisting: Exclude certain users or service accounts from auditing to avoid unnecessary detection entries related to routine operations.
After configuring these settings, save your changes. To edit the task, click its name in the list. To delete it, select the ellipsis menu next to the task name.