Installing Smart Policy Manager
-
Log On to Your Computer
- Log on to your local computer using an account with administrator privileges.
-
Access Product Installation
- On the Superna Product Installation page, click the product installation link under the Product Components section.
-
Launch Installation Wizard
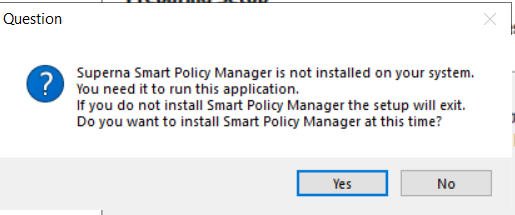
- When prompted to install Superna Smart Policy Manager, click Yes to launch the Installation Wizard.
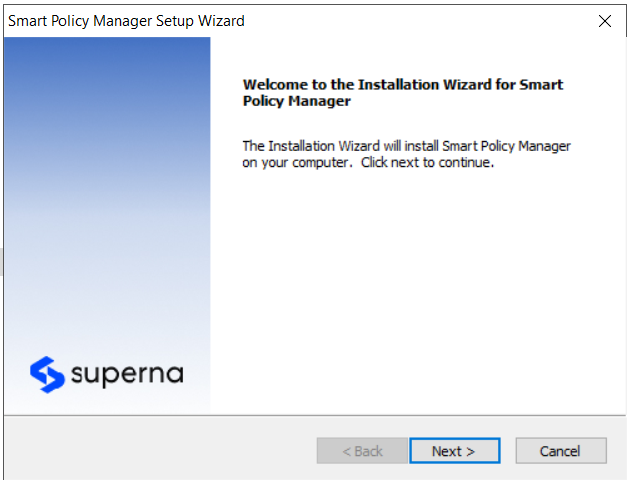
- In the Superna Smart Policy Manager installation welcome dialog box, click Next.
- When prompted to install Superna Smart Policy Manager, click Yes to launch the Installation Wizard.
-
Accept License Agreement
- In the License Agreement dialog box, select I accept the terms of the license agreement and then click Next.
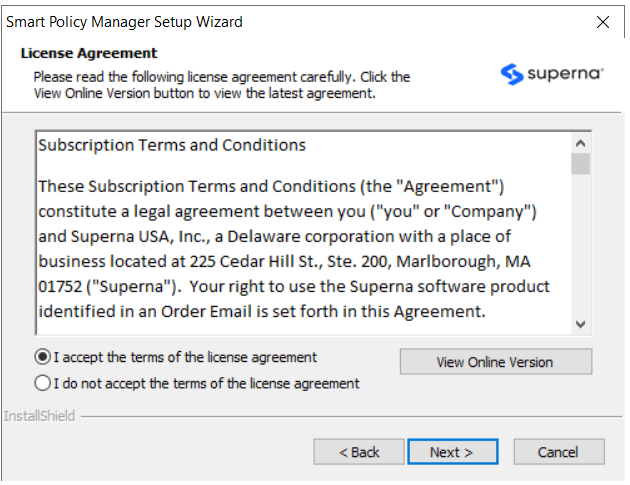
- In the License Agreement dialog box, select I accept the terms of the license agreement and then click Next.
-
Choose Installation Location
- In the Choose Destination Location dialog box, browse to the needed location for installation and click Next.
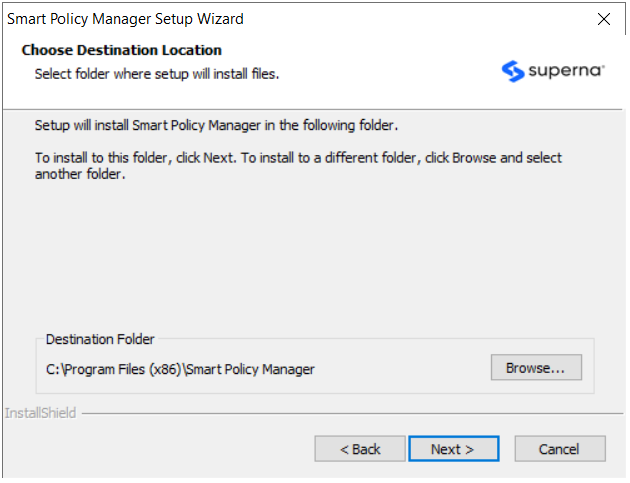
- In the Choose Destination Location dialog box, browse to the needed location for installation and click Next.
-
Select Features to Install
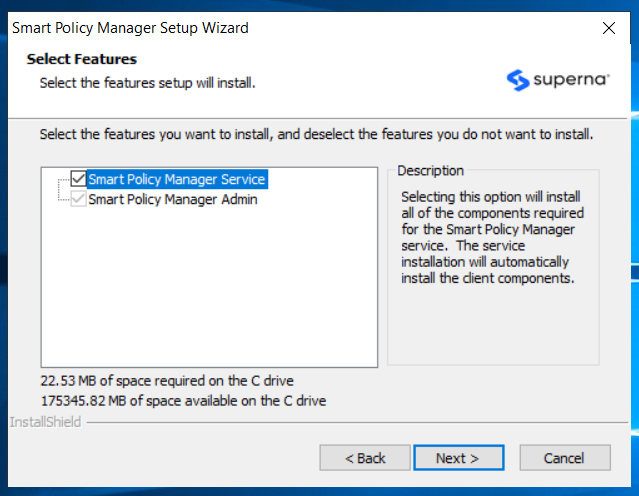
- In the Select Features dialog box, select:
- Smart Policy Manager Service
- Smart Policy Manager Admin component
- Click Next.
- In the Select Features dialog box, select:
-
Enter Service Account
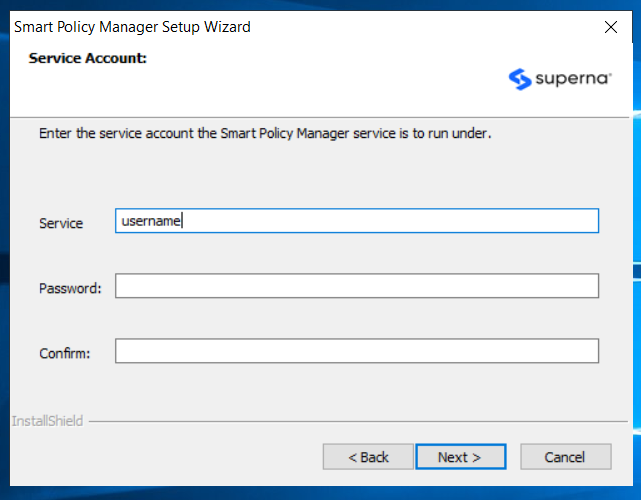
- Enter the service account credentials that the Smart Policy Manager will run under.
- Enter the service account credentials that the Smart Policy Manager will run under.
-
Choose Installation Setup Type
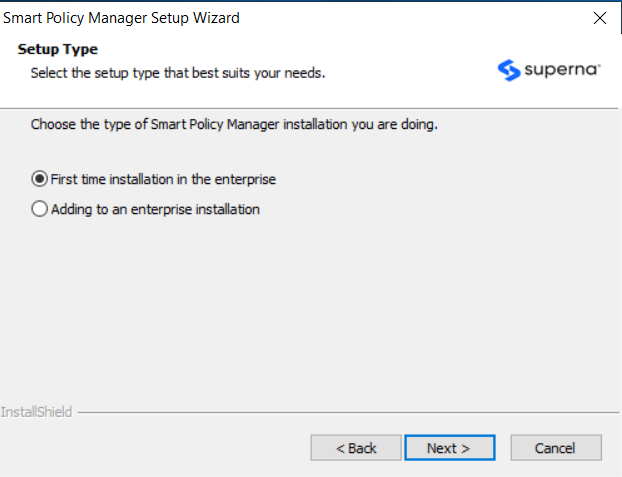
- Choose the installation setup type.
- If it is your first time installing the software, leave the first option selected.
-
Enter Organization Details
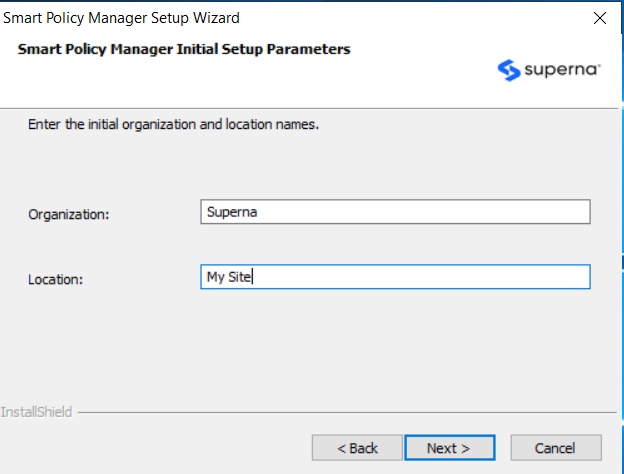
- Enter the name of the organization and your location.
- Enter the name of the organization and your location.
-
Start Copying Files
- In the Start Copying Files dialog box, click Next to begin copying files.
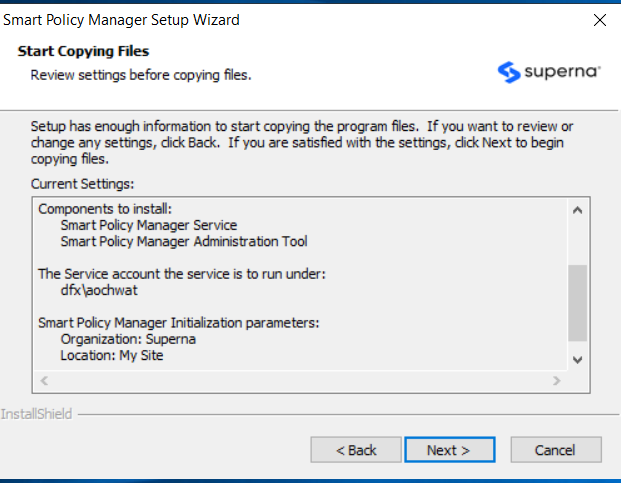
- In the Start Copying Files dialog box, click Next to begin copying files.
-
Complete Installation
- Once the file installation is complete, click Finish.
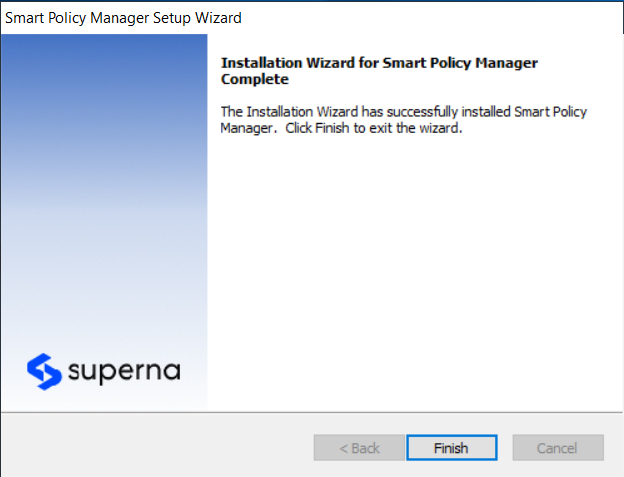
- An installer for Data Security Essentials will open afterward for further setup.
- Once the file installation is complete, click Finish.