Migration Notice
We're migrating documentation from the old portal into this one. Some things may look a little different or out of place in the meantime — we know, and we're working to get it right. If something's unclear or doesn't look right, let us know.
Version: 1.0.4

Installing NAS Proxy

info

This guide is only relevant for the Hitachi platform.

  1. Install the Superna NAS Proxy
    The DSES setup program prompts you to install the Superna NAS Proxy if it is not already installed.
    dses_setup_program_prompt

  2. Follow the Installation Sequence
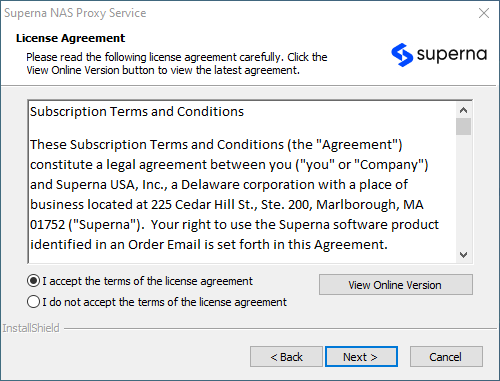
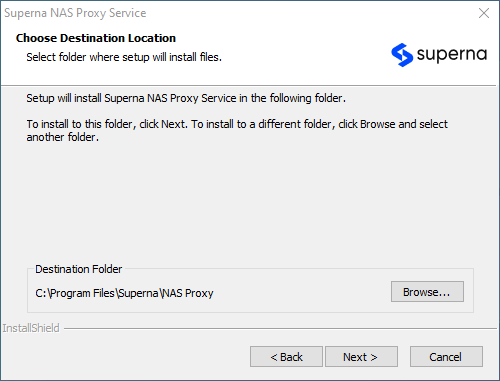
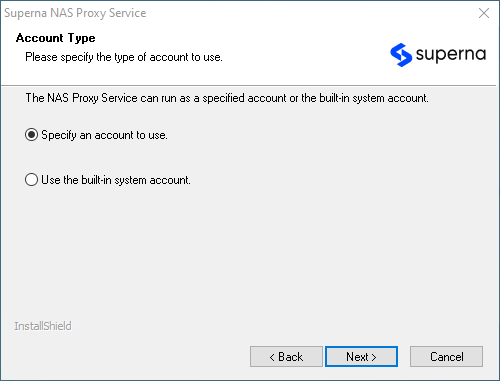
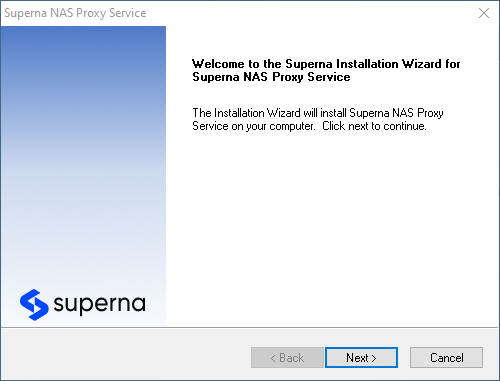
    Follow the Superna NAS Proxy installation sequence.
    nas_proxy_installation_step_1
    nas_proxy_installation_step_2
    nas_proxy_installation_step_3
    nas_proxy_installation_step_4

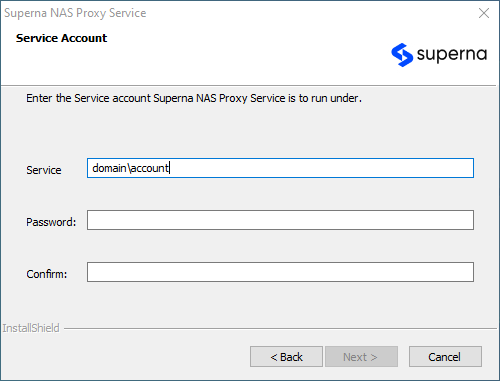
  3. Enter the Service Account Name
    Enter the service account name in the domain\account format. Use the same account configured for the DSES software.
    enter_service_account_name

  4. Complete the Installation
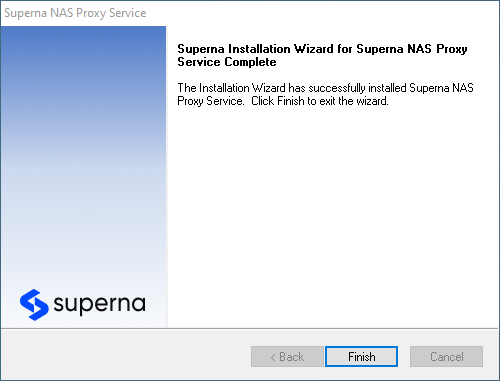
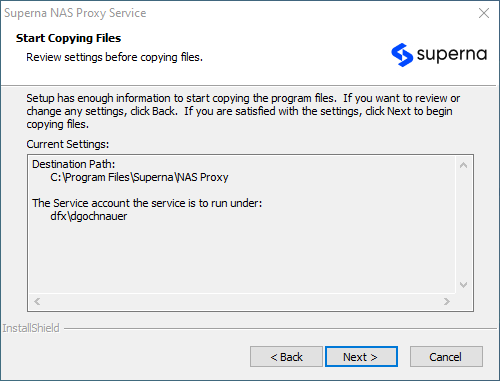
    Complete the installation by following the prompts in the Superna NAS Proxy installer.
    installation_completion_step_1
    installation_completion_step_2