Installing NAS Proxy
This guide is only relevant for the Hitachi platform.
Installation Steps
-
Install the Superna NAS Proxy
The DSES setup program prompts you to install the Superna NAS Proxy if it is not already installed.
-
Follow the Installation Sequence
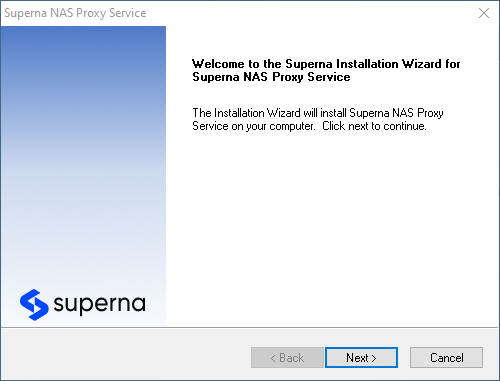
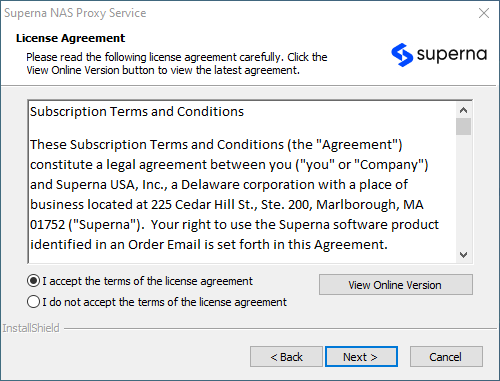
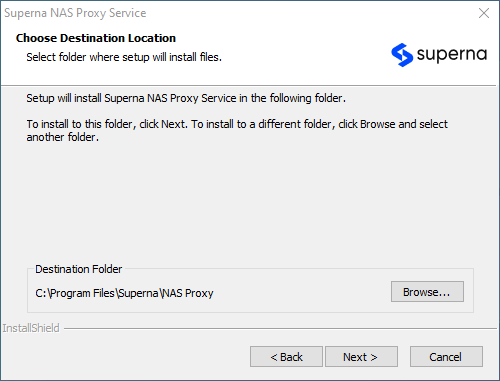
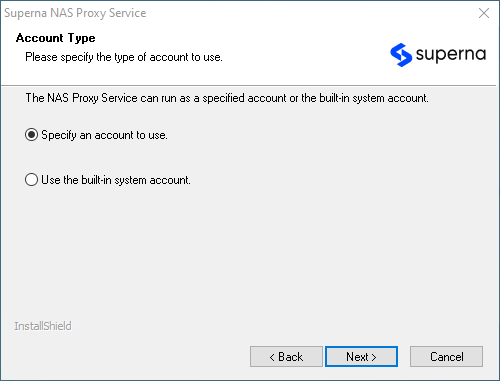
Follow the Superna NAS Proxy installation sequence.
-
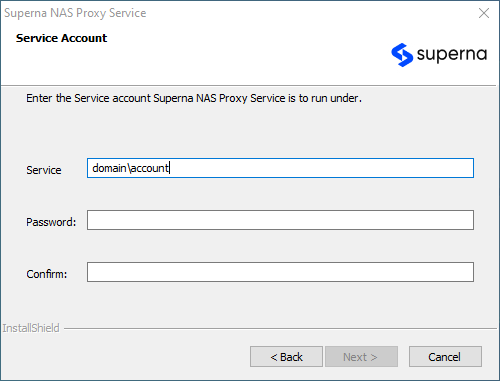
Enter the Service Account Name
Enter the service account name in thedomain\accountformat. Use the same account configured for the DSES software.
-
Complete the Installation
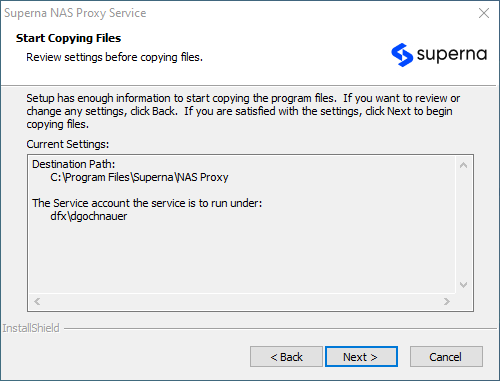
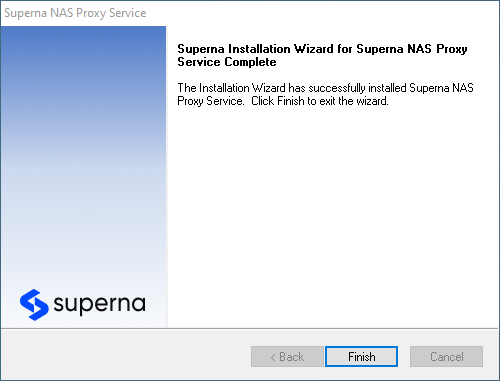
Complete the installation by following the prompts in the Superna NAS Proxy installer.
Configuring the HNAS in the DSES UI
-
Add an EVS to the Policy Hierarchy
Install the Hitachi version of Data Security Essentials. Add the EVS to the hierarchy for management. -
Open Superna Data Security Essentials Admin
Go to:
Start > All Programs > Superna Data Security Essentials > Data Security Essentials Admin -
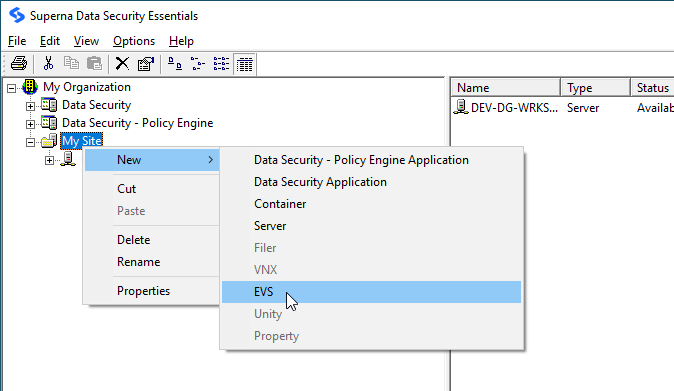
Create a New EVS
Right-click My Site, and select:
New > EVS
-
Name the EVS
When prompted, enter a name that matches the CIFS name of the EVS.
-
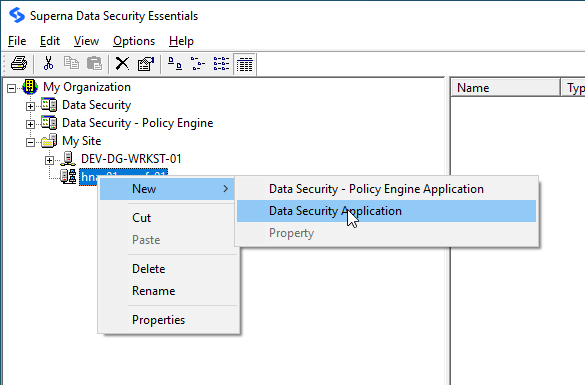
Add a Data Security Application
After the device appears in the list of recognized servers, right-click the device, and select:
New > Data Security Application
-
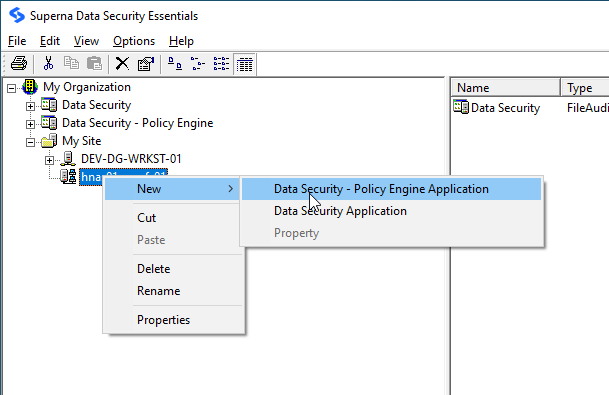
Add a Policy Engine Application
Right-click the device, and select:
New > Data Security - Policy Engine Application
-
Configure the Windows Server
The Hitachi EVS is now part of the hierarchy. Configure the Windows server that manages the filer. -
Expand the Windows-Based Server
In the Superna Smart Policy Manager hierarchy view (left pane), click the plus sign (+) beside the Windows-based server that manages the Hitachi EVS. -
Open Data Security Properties
Right-click Data Security under that entry, and select Properties to open the Data Security Configuration screen. -
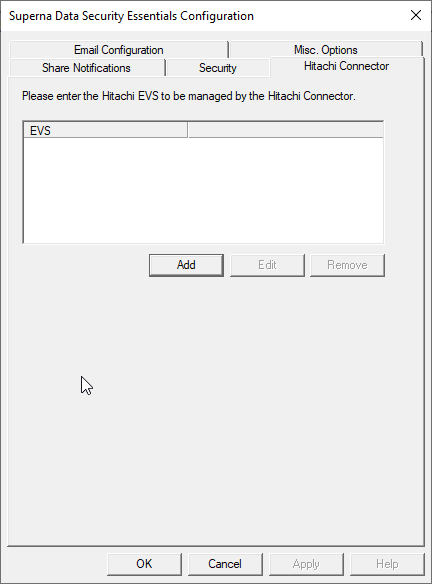
Use the Hitachi Connector Tab
Click the Hitachi Connector tab.
-
Add the EVS CIFS Name
Click Add, enter the CIFS name of the EVS to manage, and select OK.
-
Confirm the Configuration
Select OK in the Superna Data Security Essentials Configuration screen. -
Open Data Security Policy Engine Properties
Right click Data Security - Policy Engine, select Properties to open the Data Security - Policy Engine -
Use the Hitachi Connector Tab
Click the Hitachi Connector tab. -
Add the EVS CIFS Name
Click Add, enter the CIFS name of the EVS to manage, and select OK. -
Confirm the Configuration
Select OK in the Superna Data Security Essentials Configuration screen.
Configuring the EVS for File Filtering
-
SSH into the HNAS Management Console
Open a terminal and connect to the IP or hostname of your HNAS system. -
Select the EVS You Want to Manage
Run the following command, where<evs-id>is the ID of the EVS shown byevs list:evs-select <evs-id> -
Enable File Filtering Run:
file-filtering onThis turns on the file filtering interface that Data Security Essentials uses to receive events from the HNAS.