Execute Failover with DR Assistant
Introduction
The DR Assistant is the guided interface that enables you to safely and systematically execute a storage cluster failover. Whether responding to a planned maintenance event or an unexpected outage, the DR Assistant provides structured steps to configure, initiate, and monitor the failover process from start to finish.
This section walks you through the workflow for launching a failover using pre-configured objects within your Superna environment. It also highlights critical failover options and safeguards that ensure data integrity and policy compliance during the transition.
Initiate a Failover
This section of the guide will cover the steps to start, monitor, and complete a failover.
Prerequisites:
- A storage cluster failover candidate
- A failover object candidate
Steps:
-
Access DR Assistant: From the Eyeglass Dashboard, select DR Assistant.
-
Select Storage Cluster: In the Failover Assistant section of DR Assistant, choose your storage cluster failover candidate from the Source Cluster dropdown menu.
-
Choose Failover Object: Select the type of failover object you want to failover from the Failover Type dropdown menu.
-
Enable/disable any applicable Failover Options. Which options appear depends on both the storage platform and the Failover Type you selected in the previous step (VAST: Protected Path, Tenant, or VIP Pool; Qumulo: Replication Relationship; Pure FlashBlade: File System or Server). The core options common across platforms are:
-
Controlled Failover:
- Only uncheck this option if the source cluster is unreachable. Using this option means you are failing away from the data and losing all changes at the moment the failover is started. If this is unchecked, all failover will occur from an older snapshot and will result in data loss.
-
Data Sync:
- Adds a step to the failover process to sync data between the source and target cluster before the failover begins, minimizing the amount of data that could be lost during a failover. On VAST and Pure FlashBlade, this option mirrors Controlled Failover and is shown checked but disabled (not independently toggleable) rather than as a free-standing checkbox. On Qumulo, the equivalent behavior is tied to Controlled Failover directly rather than a separate option.
-
Block Failover on Warnings:
- This option will stop a failover from proceeding if a WARNING status exists. Available on VAST, Qumulo, and Pure FlashBlade.
Platform-specific options that also appear, depending on the Failover Type selected:
- Enable Tenant Seamless SMB Failover (VAST only, Failover Type = Tenant) — enables seamless SMB session failover for the tenant-level failover candidate.
- Enable Seamless VIP Pool Failover (VAST only, Failover Type = VIP Pool) — enables seamless failover for the selected VIP pool.
- Enable Seamless SMB Failover (Pure FlashBlade only, Failover Type = Server) — enables seamless SMB session failover for the server-level failover candidate.
- File System Integrity Failover (Pure FlashBlade only) — verifies file system integrity as part of the failover process.
- Replication Resync Prep (Pure FlashBlade only, checked by default) — prepares the replication relationship for resync/failback after the failover completes.
-
-
Proceed with Your Selected Options:
- Once you have selected the failover option(s) you want, click the Next button in the bottom right corner to proceed.
-
Review Failover Support Policies:
- The next screen will display our failover support policies. Please read through them carefully, then select the checkbox and press Next to continue.
-
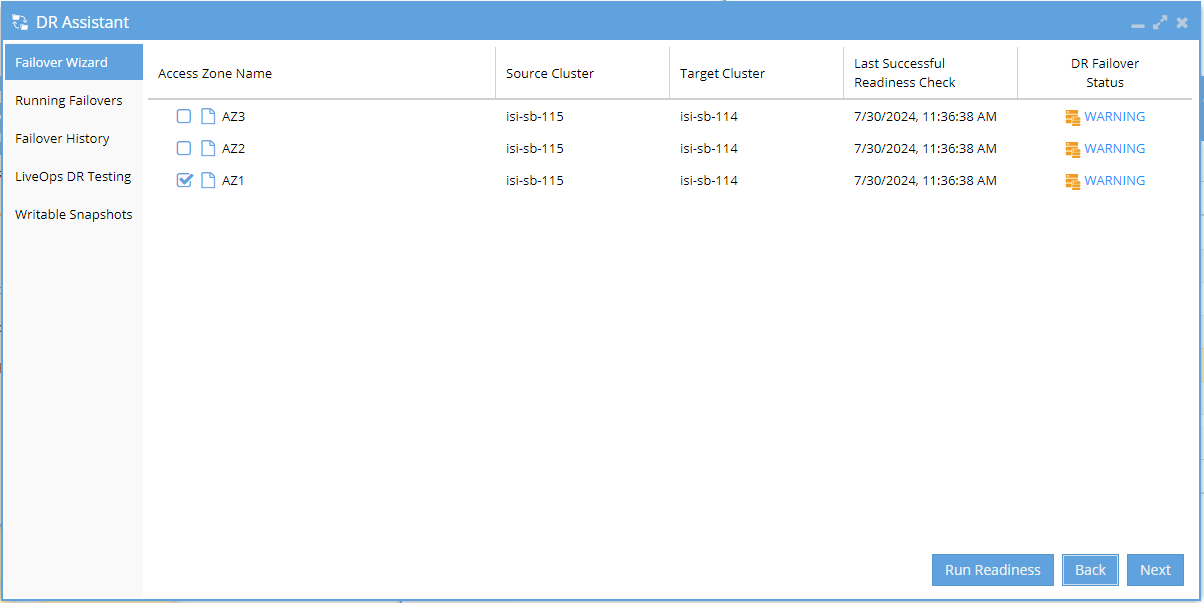
Select Failover Objects:
- This screen will show the failover objects available to you based on the options you selected earlier (cluster and failover type).
- Use the checkboxes on the left side of the table to select the failover object(s) you wish to include, then click the Next button to proceed.
infoIf you believe your DR Failover Status has changed, you can select Run Readiness to update this status. The job usually takes up to 5 minutes to finish, but it may take longer depending on your configuration.
Review Success Screen:
- Assuming there are no errors, you should see a Success screen. Please review the failover release notes carefully, then click the checkbox to confirm you’ve read them, and press Next to continue.
-
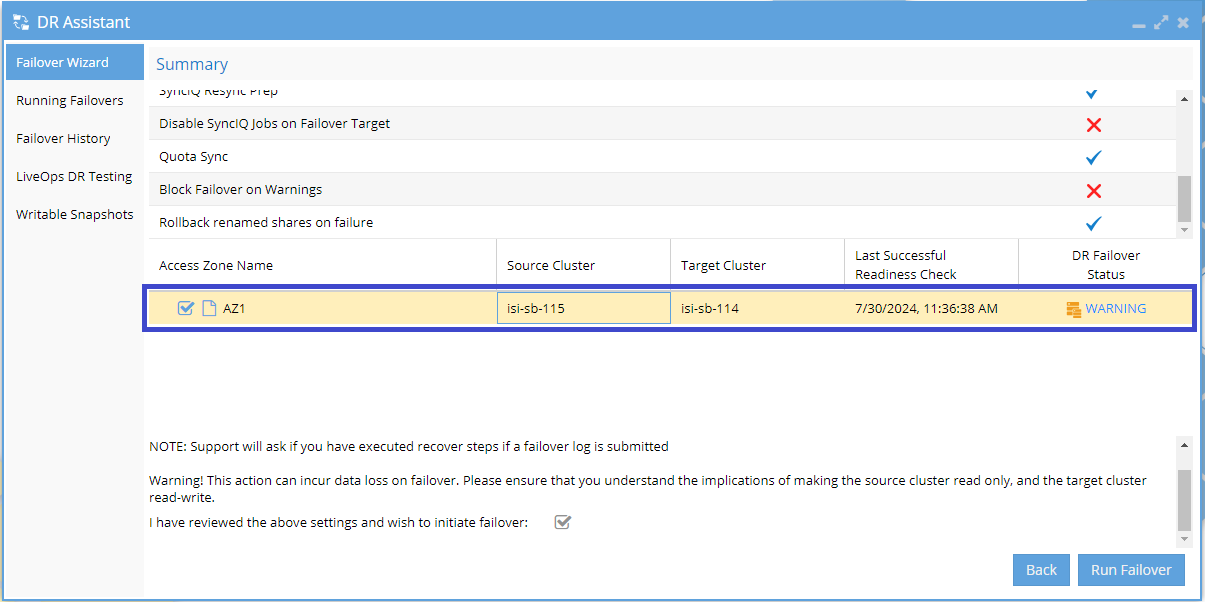
Summary and Run Failover:
- This screen provides a summary overview of the selected failover object, including its DR Failover Status and the options that are enabled.
- After reviewing all the settings and ensuring they are correct, click the checkbox at the bottom of the window to confirm, and then click the Run Failover button to initiate the failover process.
-
Success!
- You have now successfully started a failover—congratulations! Next, we need to monitor the progress of the failover to ensure everything proceeds smoothly.
-
Monitor Individual Operations:
- While the failover is running, you can review the individual operations being executed in the Job Details section of the page.
- For a more detailed view, click the Logs hyperlink within the running failovers table to monitor the actions at a more granular level.
- We recommend opening the Failover Log Viewer and clicking the Watch button to stay up-to-date with the progress.
-
Handle Any Issues:
- If your failover encounters any issues, you can view them in the Job Details section by clicking the INFO hyperlink next to the particular job name.
-
Success!
- You have now successfully completed a failover—congratulations!
-
View Historical Failovers:
- You can view historical failovers by navigating to the Failover History menu item within the left navigation of DR Assistant.