Recovery Manager
Introduction
Cyber Recovery Manager enables targeted recovery of files affected during a ransomware event. After a user is locked out by Ransomware Defender, the system tracks all activity related to that user—including file modifications, deletions, and renames—and presents this data for review.
Recovery Manager uses this activity to help you identify which files were impacted and restore them to a known-good state. Rather than performing a full rollback, it allows selective recovery of affected items, helping to reduce downtime and preserve unaffected data.
This section explains how to access Recovery Manager, explore affected file activity, and initiate recovery jobs through the UI.
Prerequisites
- VAST
- Qumulo
VAST has no REST API for moving files, so Recovery Manager uses S3 to copy files from a snapshot back to their original location. Complete this setup before Recovery Manager can be used on a VAST system.
-
Create a view with an S3 bucket. Every view you want to protect and recover files from must live underneath this view's path. For example, if the view to protect is
/allison-test4/data-access1, create the S3 bucket on the parent path/allison-test4. -
Set the S3 bucket owner. The bucket owner must be a non-local user, must have one or zero access keys, and must be an S3 Superuser.
-
Set the protected view path in
system.xml:igls config settings set --recover_manager_view_path --<value> -
Add the Eyeglass IP to the ignored list so that the recovery job's own file activity doesn't trigger a new ransomware event.
Recovery Manager on VAST only works for files in the "default" directory, and does not restore ACLs to their exact prior state.
No additional setup beyond the standard Qumulo installation is required for Recovery Manager.
By default, activity tracked for recovery goes back 1 hour before the event and is retained for 7 days. To extend retention to 30 days, on ECA node 1:
nano /opt/superna/eca/eca-env-common.conf
Add the following line, save, and cycle the cluster:
export ECA_KAFKA_USER_TOPIC_RETENTION_DAYS=30
ecactl cluster down
ecactl cluster up
Use Recovery Manager
Log in to Superna Eyeglass and open Ransomware Defender.
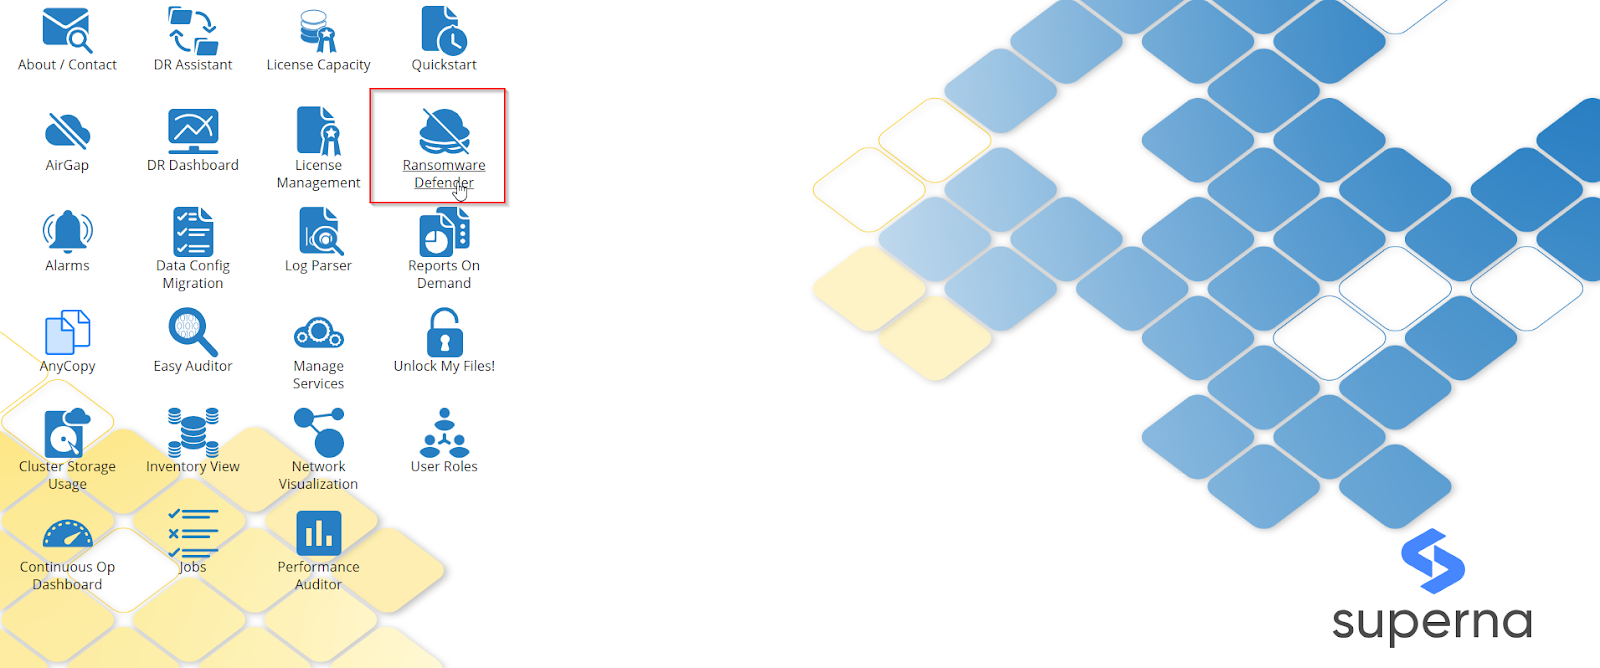
In the Events section, two menu items are displayed: Active Events and Event History.
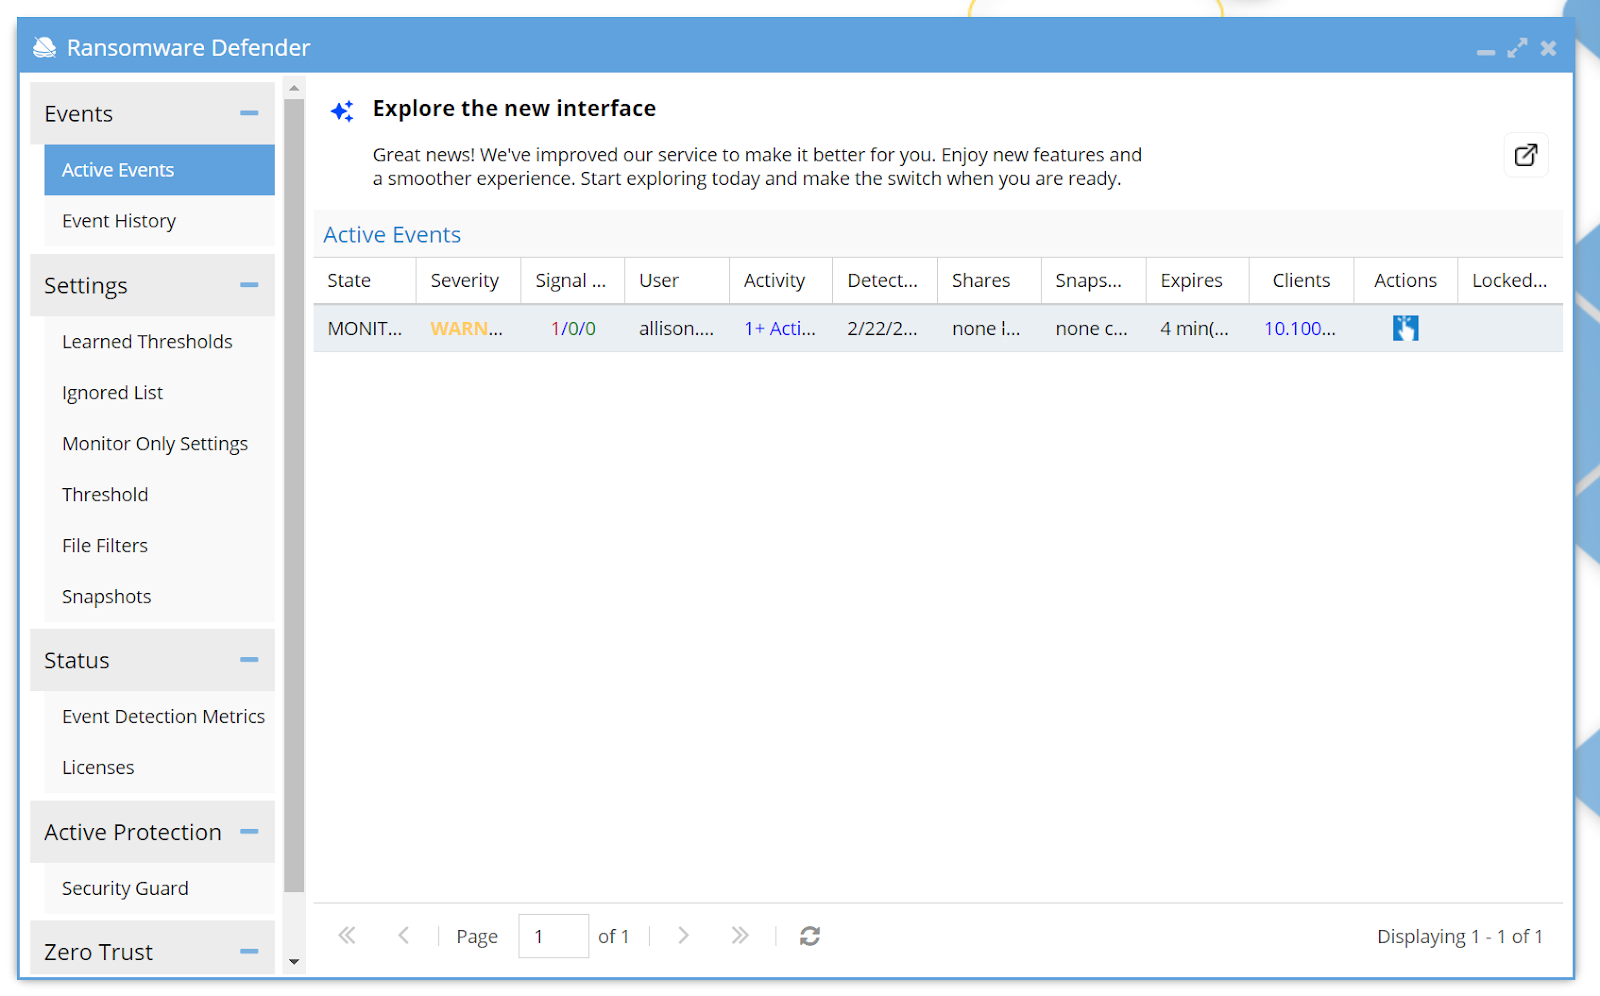
Recovery Manager can be accessed in both Active Events and Event History. However, the Recovery Manager information will expire after a week if the events are in Event History.
Active Events
In the Active Events menu, the user can see the list of active events and information about them.
To manage the Event, click on the following icon in the Action column.

The Action modal window will show the Event Action History. To recover this action, click on the Cyber Recovery Manager.
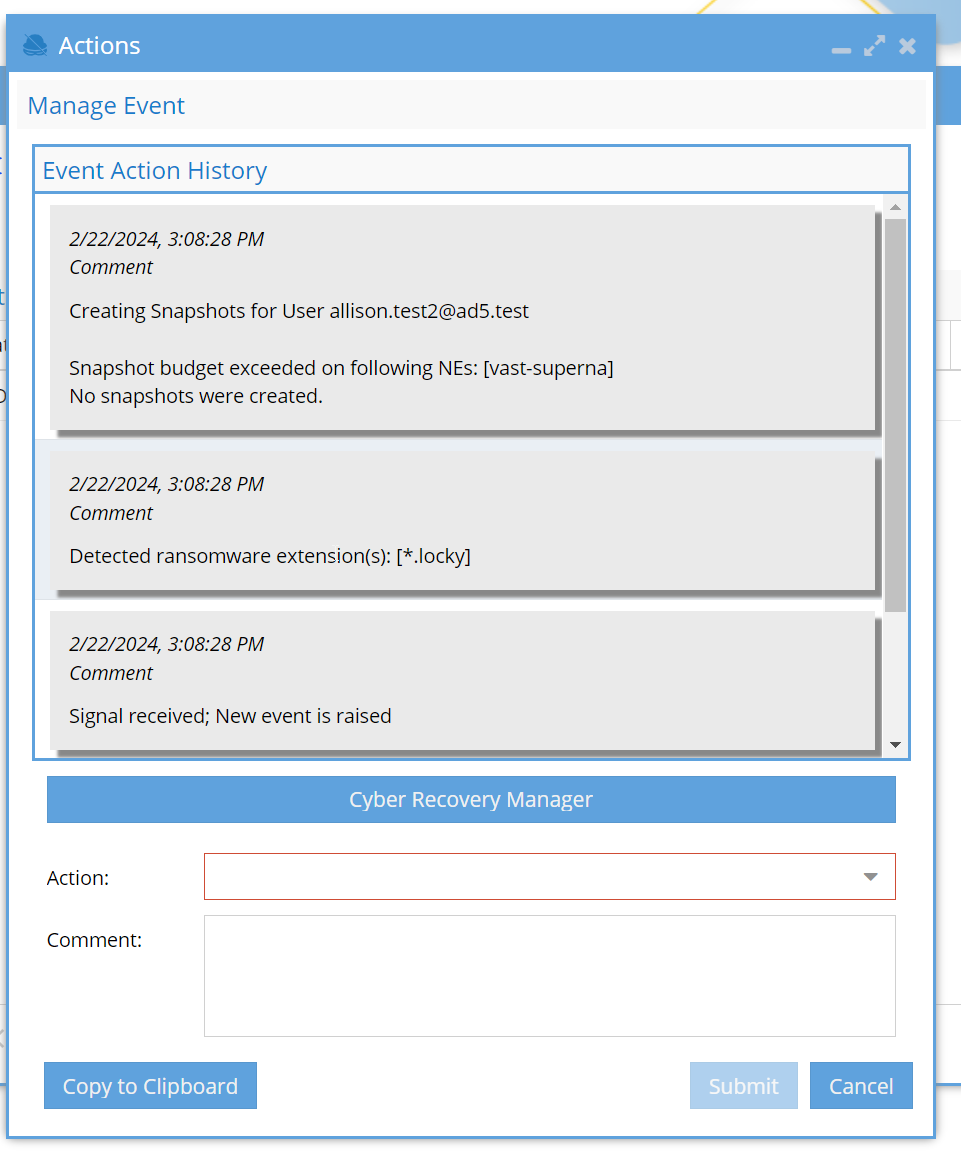
Cyber Recovery Manager
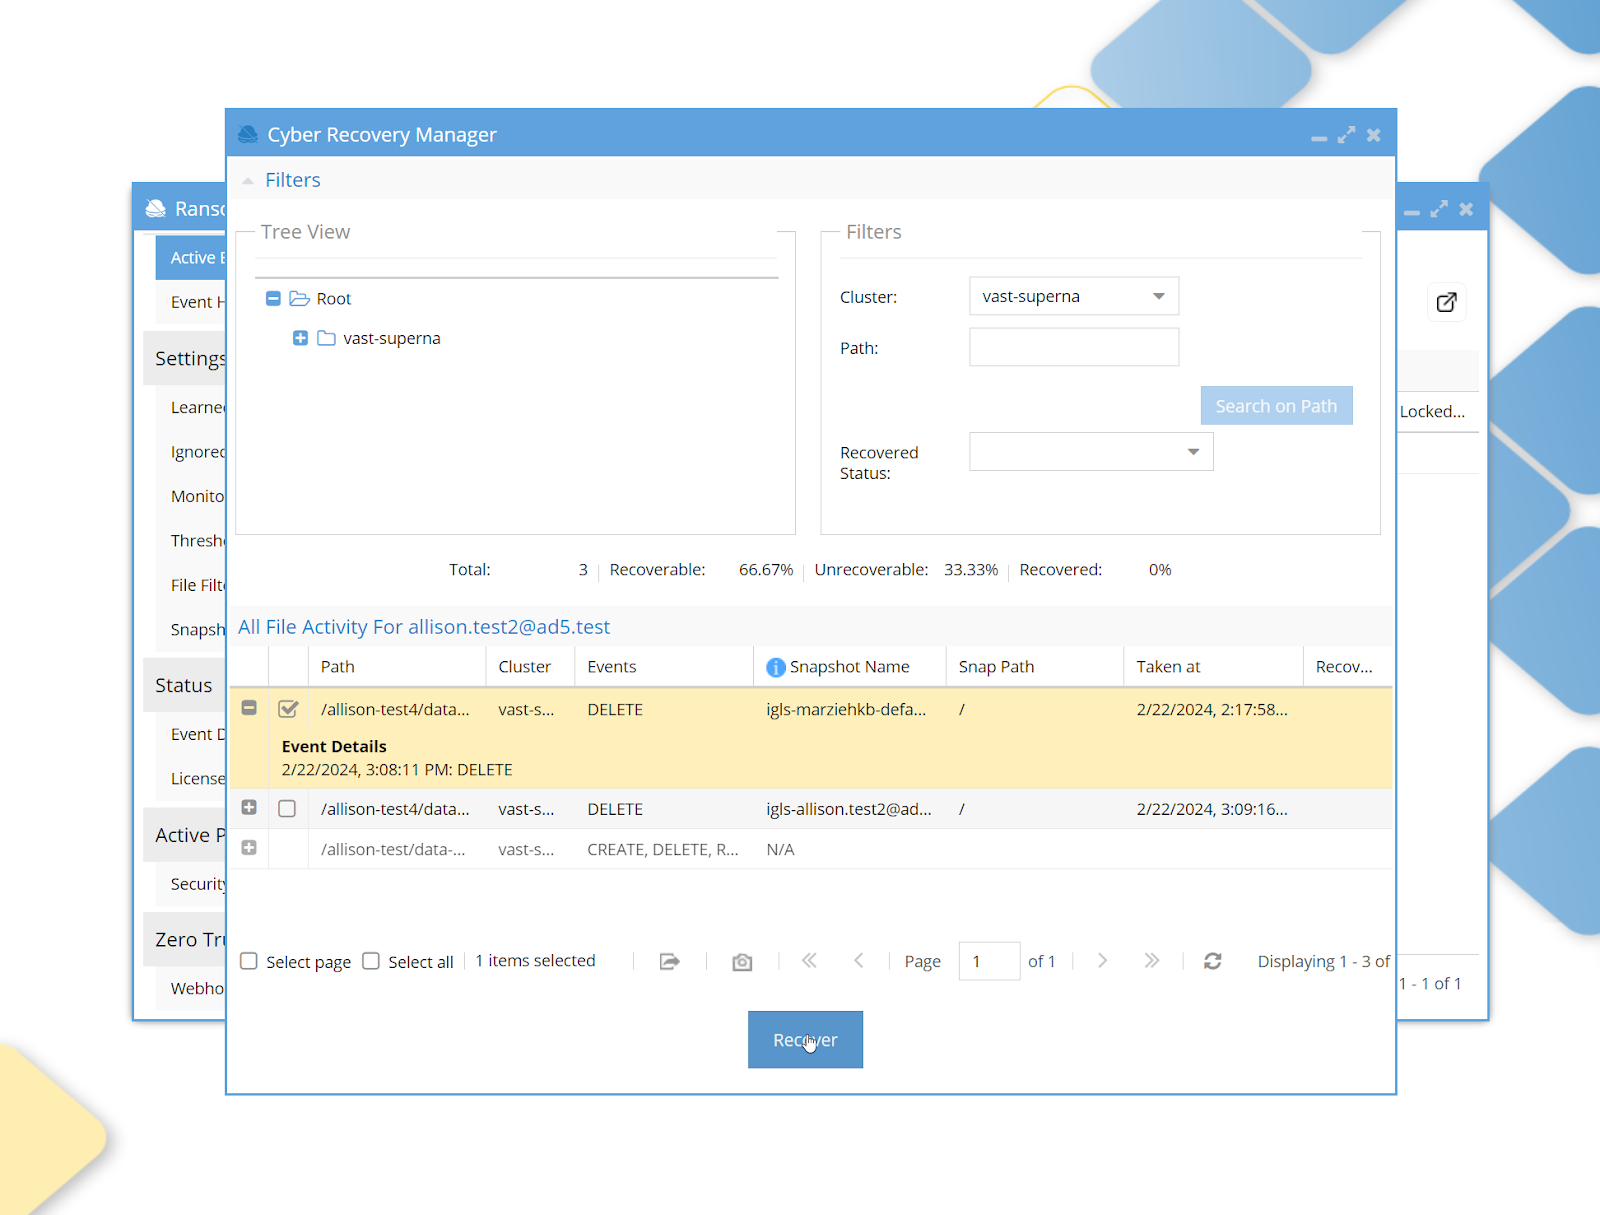
Tree View
All the files from the cluster will be displayed in the Tree View area.
Filters
In the Filters area, user can filter events by:
- Cluster. Select the cluster from the dropdown list.
- Path. Copy and paste the event path to do that or select the path from the tree to automatically filter on that path, then click the Search on Path button.
- Recovered Status. Select the desired status, and events in the All File Activity table will be filtered by status. Note: It is impossible to recover the event with UNRECOVERABLE status. Unrecoverable files don’t have snapshots.
Statistics
In the statistics area, information on events is displayed.
All File Activity for the user
The file activity is displayed on the bottom panel for a particular user.
To see how this file path has been modified, click on the + button.
Select the event and press the Restore button. On the Warning window, click No.
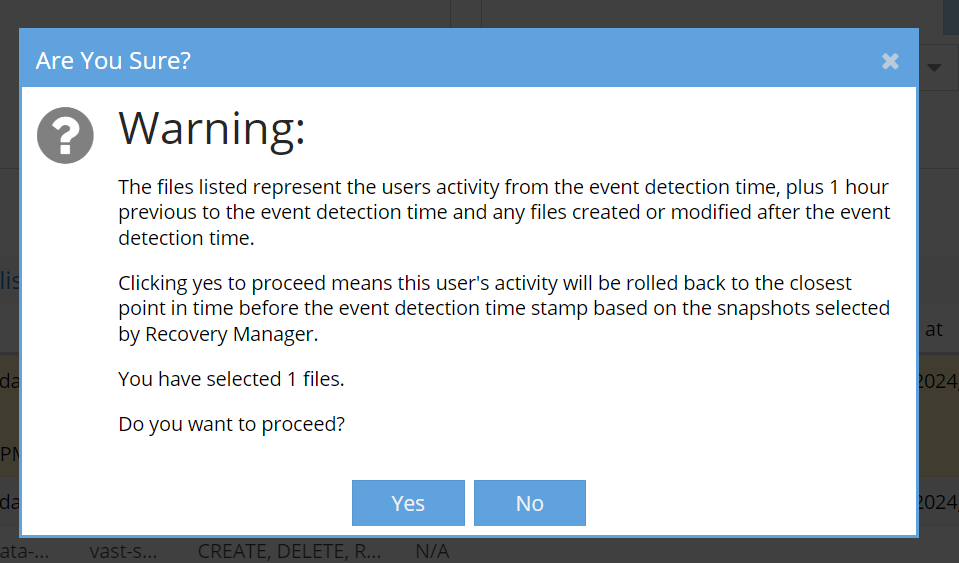
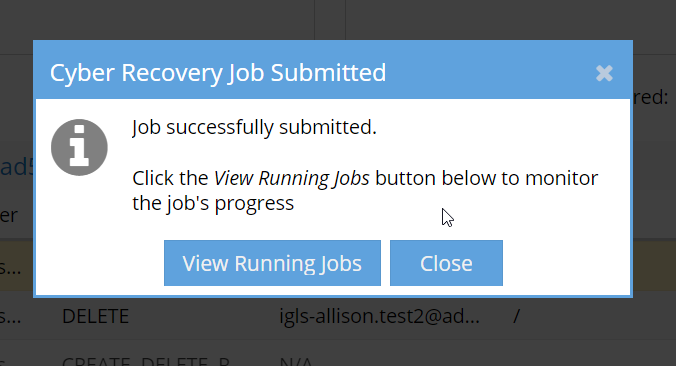
After submitting the Cyber Recovery Job, click the View Running Jobs button below to monitor the job’s progress.
Event History
All events will be displayed in the Event History menu. The events shown in the Event History will expire after a week by default, but the value can be changed in the ECA settings.
Limitations
-
Only the default tenant is supported.
-
The ACLS are not restored to the exact state they were before.