Installing Data Security Essentials
-
Welcome Dialog Box
- The Superna Data Security Essentials welcome dialog box will pop up automatically. Click Next to continue.
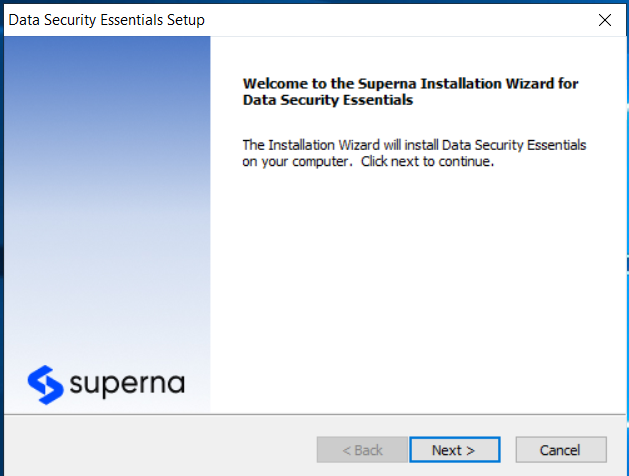
- The Superna Data Security Essentials welcome dialog box will pop up automatically. Click Next to continue.
-
Accept License Agreement
- In the License Agreement dialog box, select I accept the terms of the license agreement and then click Next.
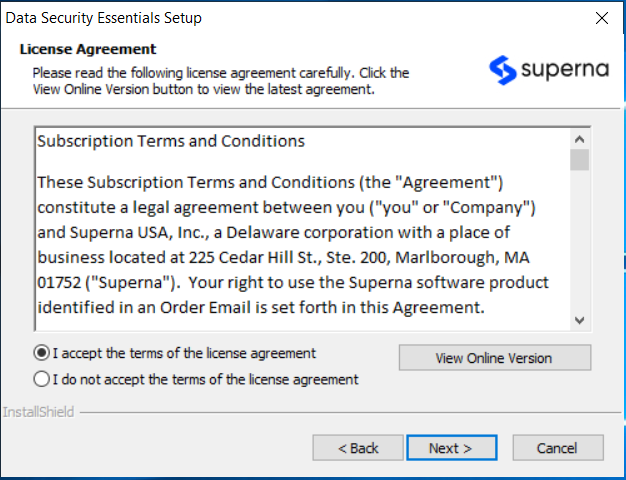
- In the License Agreement dialog box, select I accept the terms of the license agreement and then click Next.
-
Choose Installation Location
- In the Choose Destination Location dialog box, browse to the desired destination or click Next if the default location is appropriate.

- In the Choose Destination Location dialog box, browse to the desired destination or click Next if the default location is appropriate.
-
Select Features to Install
- In the Select Features dialog box, ensure that the necessary components are selected, then click Next.
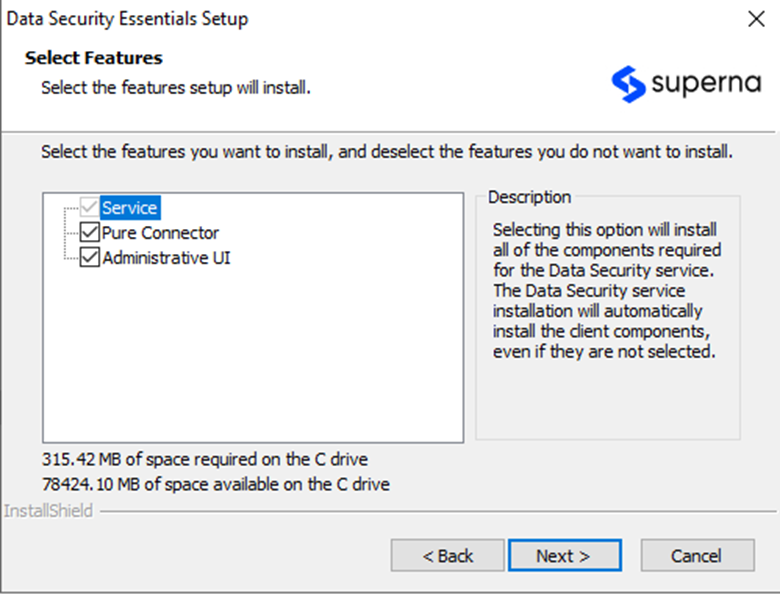
- In the Select Features dialog box, ensure that the necessary components are selected, then click Next.
-
Enter Company Information
- Enter your company's name, the administrator's name, and the license number you received from Superna. Click Next.
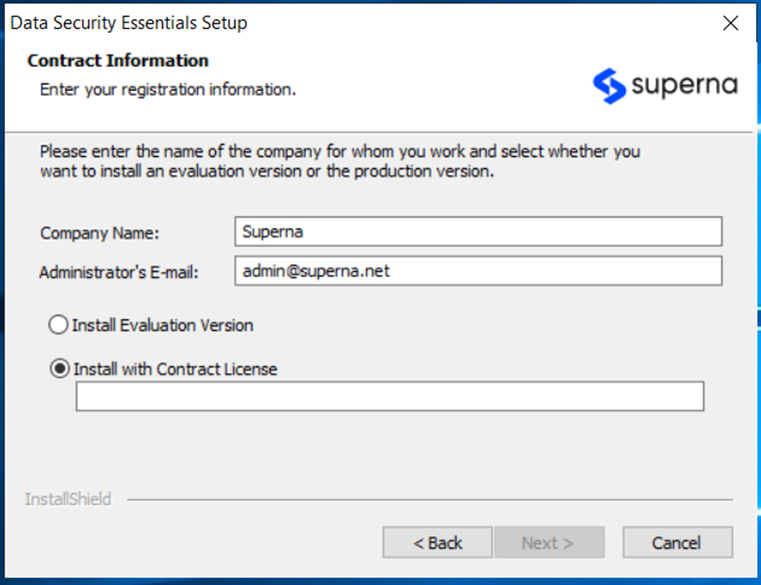
- Enter your company's name, the administrator's name, and the license number you received from Superna. Click Next.
-
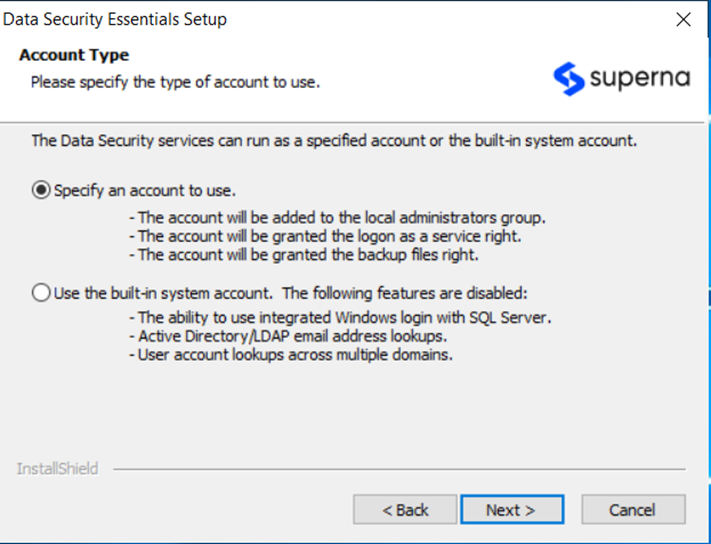
Specify Account Type
- Specify the account type you want to use. Data Security Essentials services can run as a specified account or the built-in system account.
- Specify the account type you want to use. Data Security Essentials services can run as a specified account or the built-in system account.
-
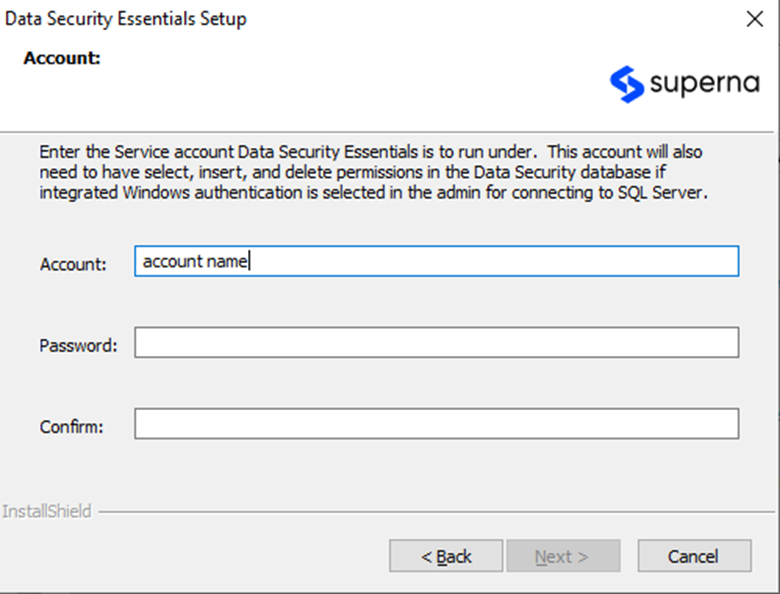
Enter Service Account Credentials
- Enter the service account credentials that Data Security Essentials will use, along with the password.
- Enter the service account credentials that Data Security Essentials will use, along with the password.
-
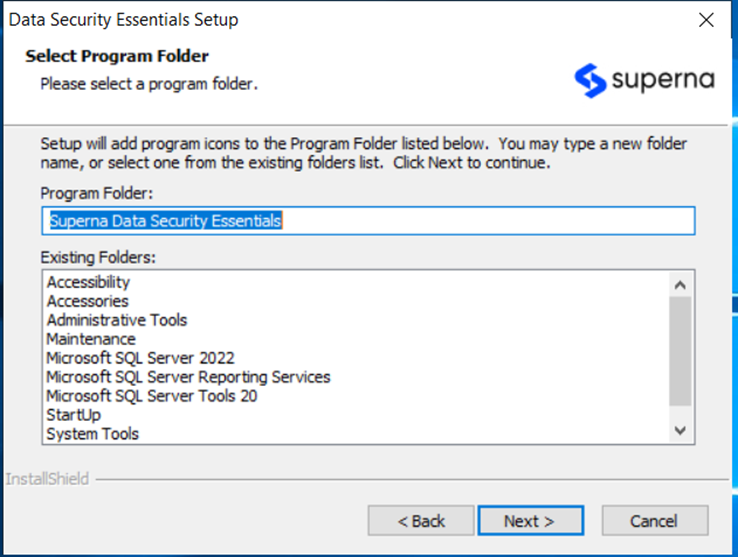
Review Shortcut Folder
- Review the folder name where Data Security Essentials shortcuts will be saved in the Start Menu.
- Review the folder name where Data Security Essentials shortcuts will be saved in the Start Menu.
-
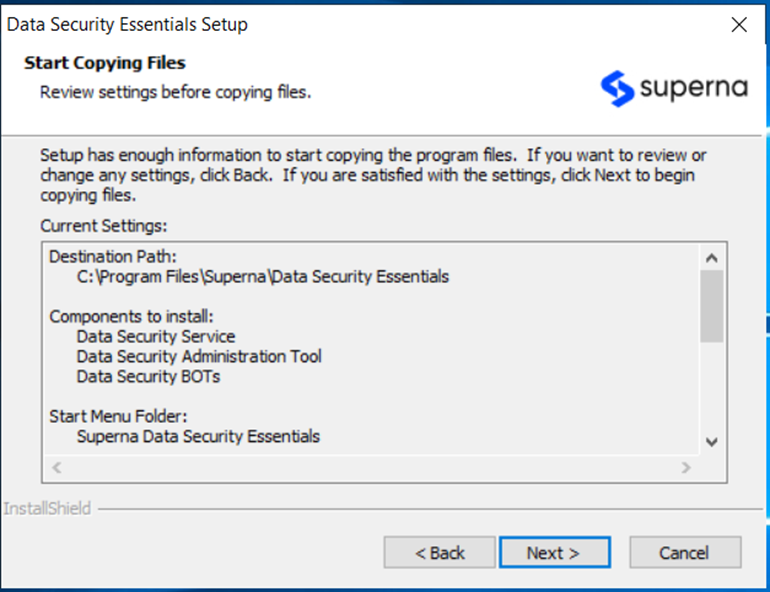
Start Copying Files
- Click Next when the Start Copying Files dialog box appears. The setup will begin transferring files to the specified locations. This process may take a few minutes.
- Click Next when the Start Copying Files dialog box appears. The setup will begin transferring files to the specified locations. This process may take a few minutes.
-
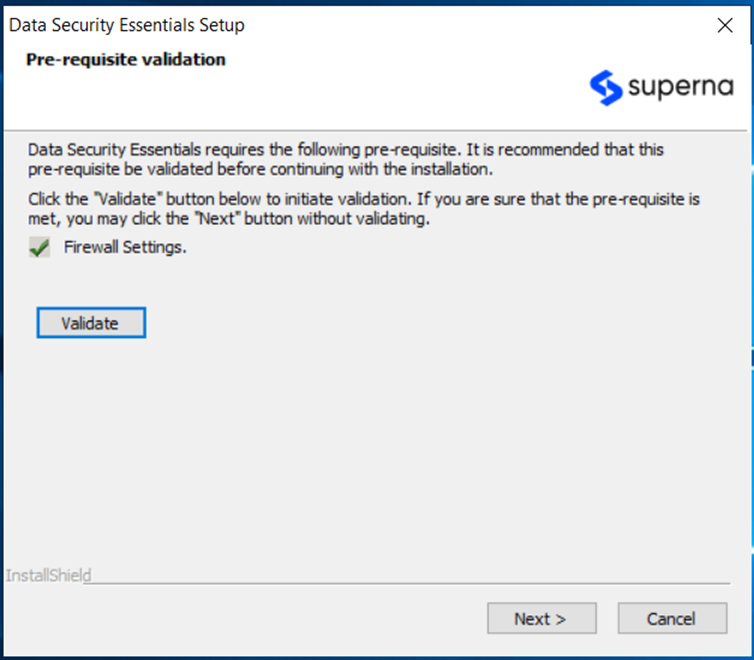
Validate Prerequisites
- Once the file installation is complete, a dialog box will prompt you to validate if all the prerequisites necessary to run Data Security Essentials are met(This is SQL Express)
- Click Validate to proceed.
-
Complete Installation
- The installation of Superna Data Security Essentials will be completed, and the application will launch.
- A new icon will also appear on your desktop.