Installing Data Security Essentials
-
Welcome Dialog Box
The Superna Data Security Essentials welcome dialog box pops up automatically. Click Next to continue.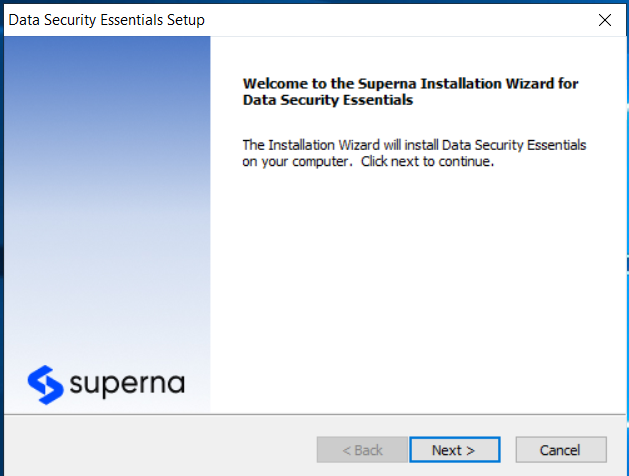
-
Accept the License Agreement
In the License Agreement dialog box, select I accept the terms of the license agreement and then click Next.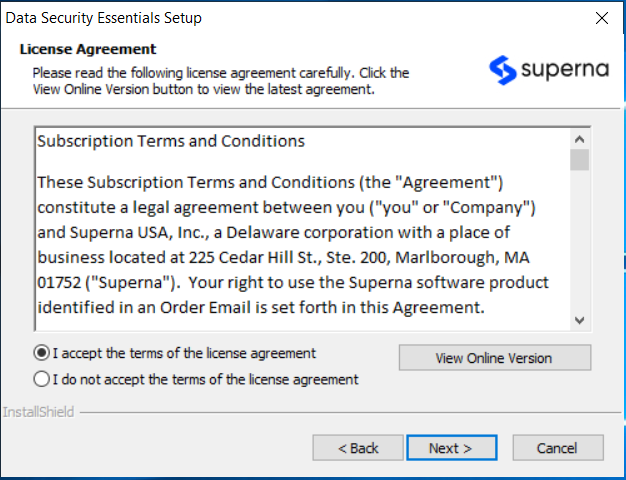
-
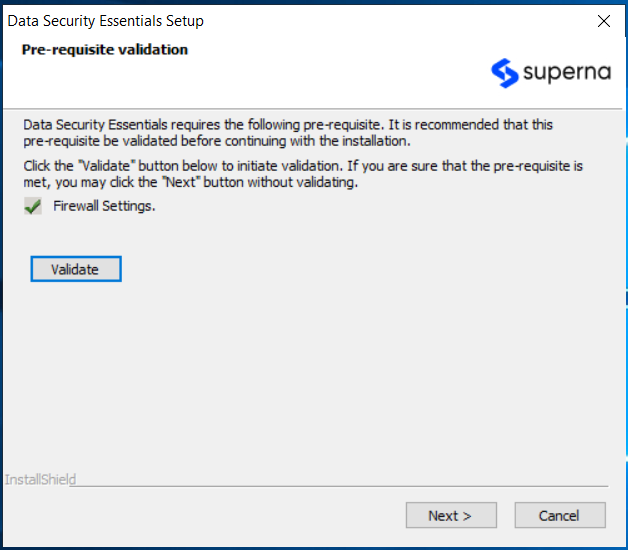
Pre-requisite Validation (Dell Only)
For Dell Unity or PowerStore systems, after entering connection details, an additional validation step is required. Click the Validate button to perform these checks:

The Data Security Essentials Setup dialog will check the following prerequisites:
- Everyone group includes anonymous users
- Common Event Enabler (CEE) version 4.5.2.3 or higher
- CEE EndPoint registry value
- EMC CAVA service account is a domain user account
- EMC CAVA service is up and running
Troubleshooting Validation FailuresIf any of these validation checks fail, you will need to resolve the issues before proceeding with the installation. Refer to the Prerequisites section and the Installing Dell Components guide for detailed information on how to meet these requirements.
-
Choose Destination Location
In the Choose Destination Location dialog box, browse to the desired destination, or click Next if the default destination location is appropriate.
-
Select Features
In the Select Features dialog box, make sure that the Admin, Service, and BOT Service component are selected and then click Next.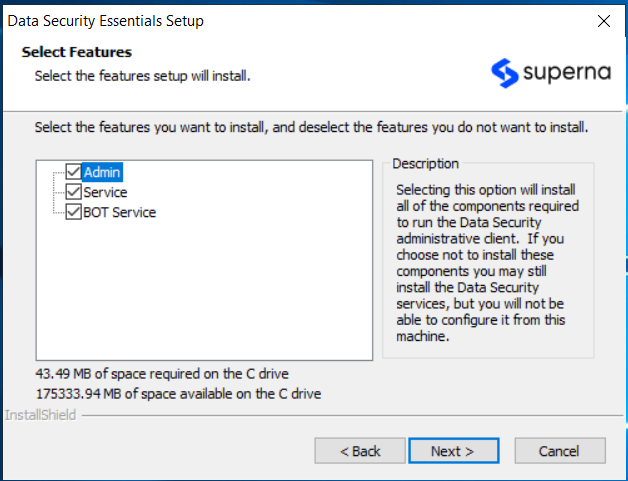 info
infoIMPORTANT: Only one instance of the BOT Service is required in the environment. If the BOT Service is already installed on another machine, this component can be unselected.
-
Specify SQL Server Name
Specify the SQL server name and the database name and click Next.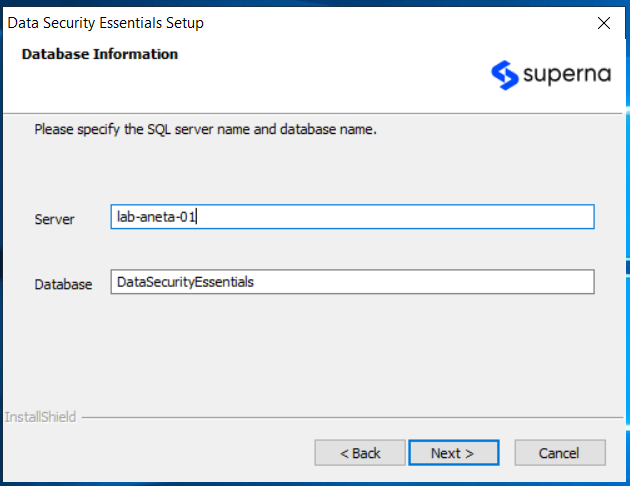
-
Create SQL Database
Next, you can create your SQL database. If you select Integrated Security, the account context will be taken from the account performing the installation. If you prefer to use a different account, you will need to provide the username and password for that account.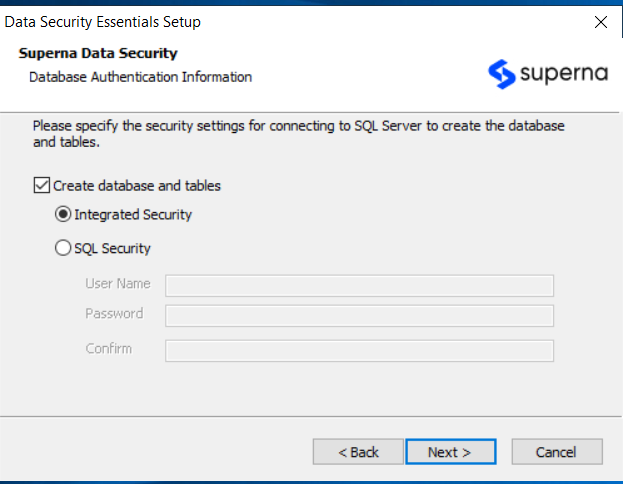
-
Enter Company and Administrator Details
In the next step, enter your company's name and the administrator's name, as well as the license number you received from Superna when processing the order. Click Next.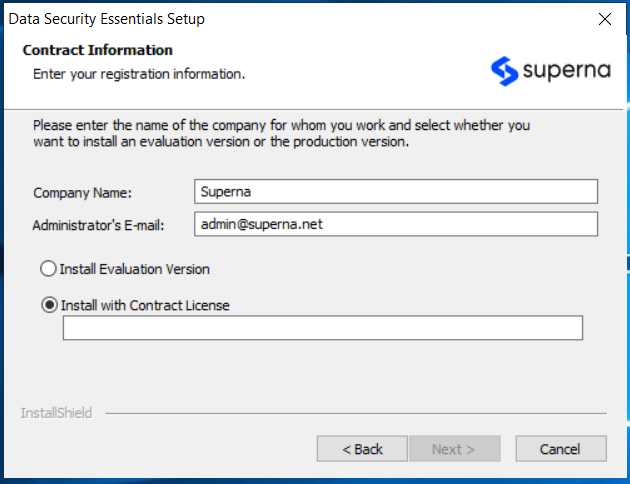
-
Specify Account Type
Specify the account type you want to use. Data Security Essentials services can run as a specified account or the built-in system account.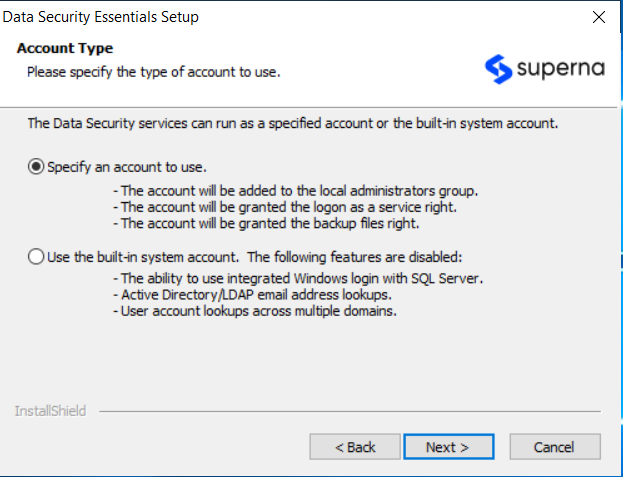
-
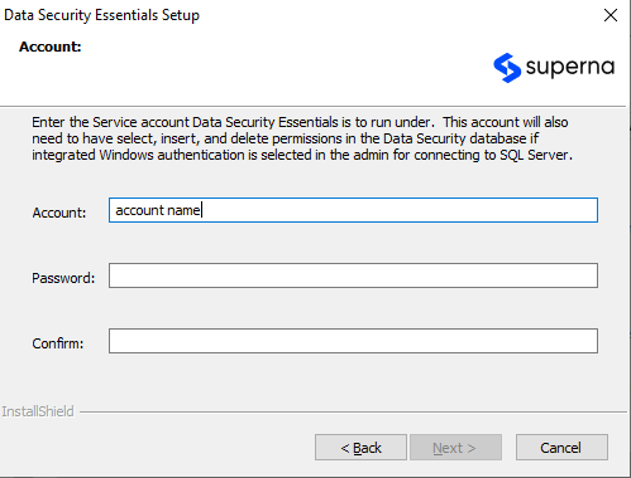
Enter Service Account
In the next step, enter the service account Data Security Essentials will use and provide the password. This account will also need to have the following permissions: select, insert, and delete permissions in the Data Security Essentials database if integrated Windows authentication is selected in the admin for connecting to SQL Server.
-
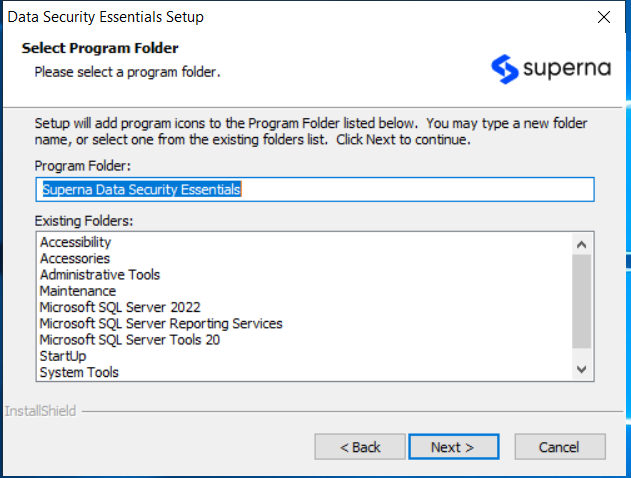
Review Shortcut Folder Review the folder name where Data Security Essentials shortcuts will be saved in the Start Menu.
-
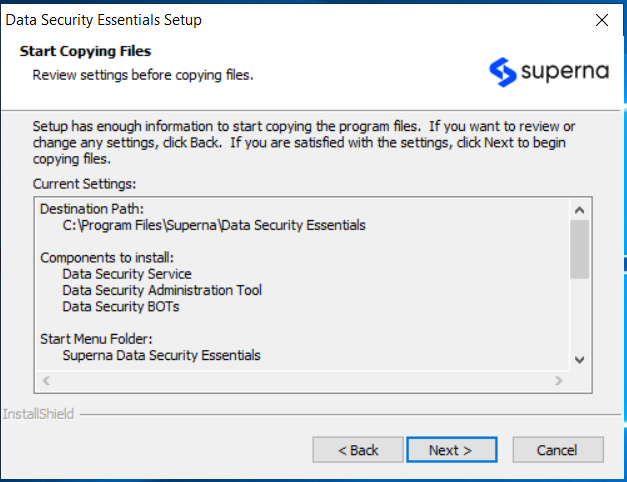
Start Copying Files Click Next when the Start Copying Files dialog box appears. Superna Data Security Essentials setup begins transferring files to the specified locations.
-
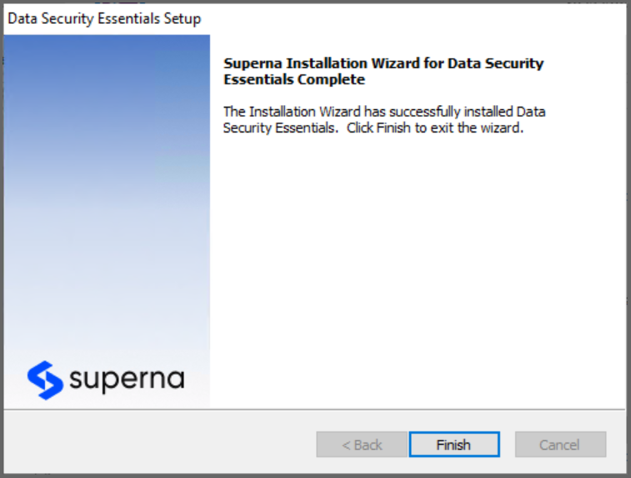
Validate Prerequisites When the file installation is complete, a dialog box offers to validate if all the prerequisites necessary to run Data Security Essentials are met. It is recommended to use this option before proceeding.
Click Validate. With the next step, Superna Data Security Essentials installation is completed.