Recovery Manager
How to Set Up Recovery Manager for VAST
Create a View with an S3 Bucket
ALL VIEWS from files that should be protected and recovered must be underneath this view path. If it is not under this path, it can’t be recovered.

For example: There is a view /user-test4/data-access1. Create an S3 bucket on path /user-test4 to set up the Recovery Manager.
Set bucket owner for S3 Bucket
This user MUST be a non-local user, and it must have ONE OR LESS access keys. (i.e., none or one).
Add view path
Add view path to <recovery_manager_view_path> in system.xml.
igls config settings set --tag=recovery_manager_view_path --value=<value>
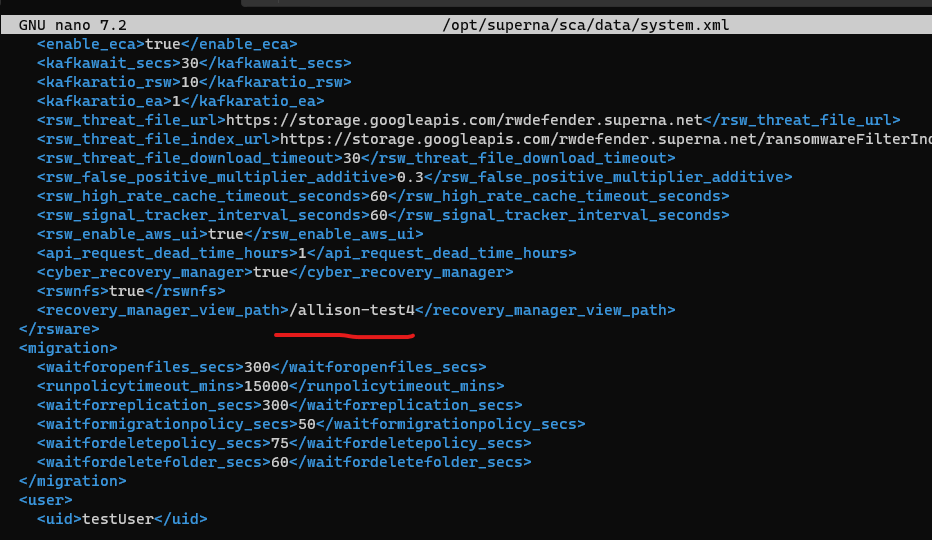
Add Eyeglass IP to the ignored list
To prevent event being raised by recovery events, add the Eyeglass IP to the Ignored List. See the following section for instructions.
How to Add Eyeglass to the Ignored List
For the correct work of the Recovery Manager, the user needs to add their Eyeglass IP address to the Ignored List to prevent this user from being locked out.
Open the Ignored List menu and click the Add button.
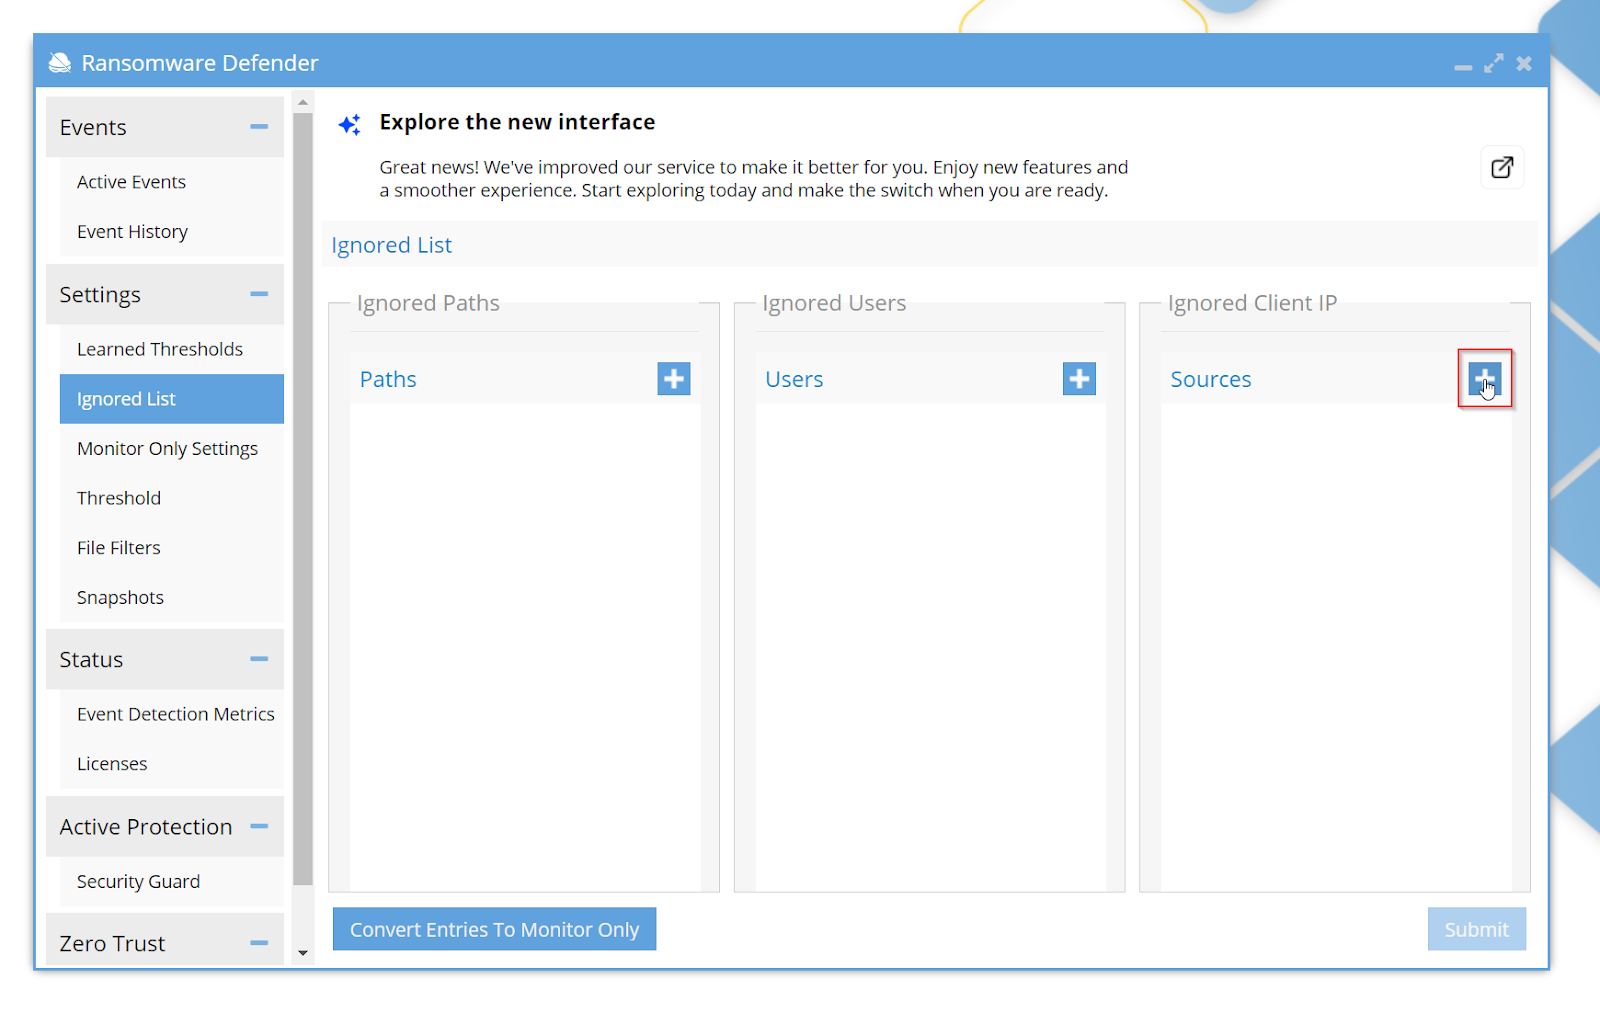
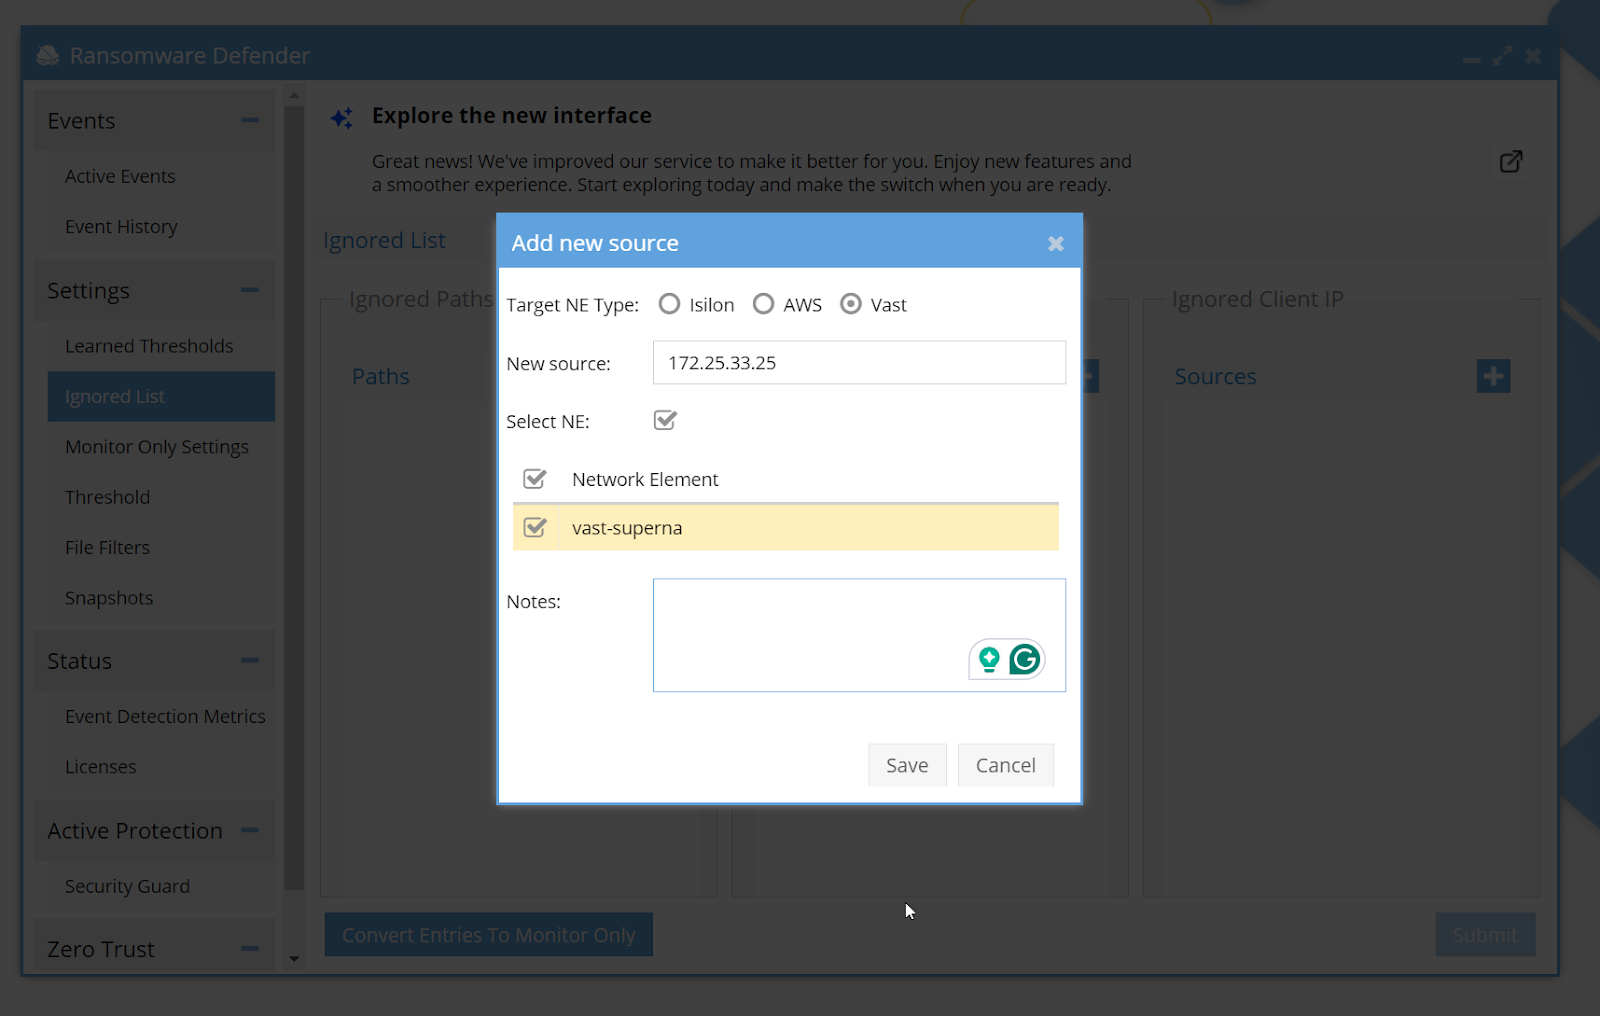
Add IP address and save changes. Make sure to do this action before starting the Recovery Manager.
How to Recover Events in the Recovery Manager
Log in to Superna Eyeglass and open Ransomware Defender.
![]()
In the Events section, two menu items are displayed: Active Events and Event History.
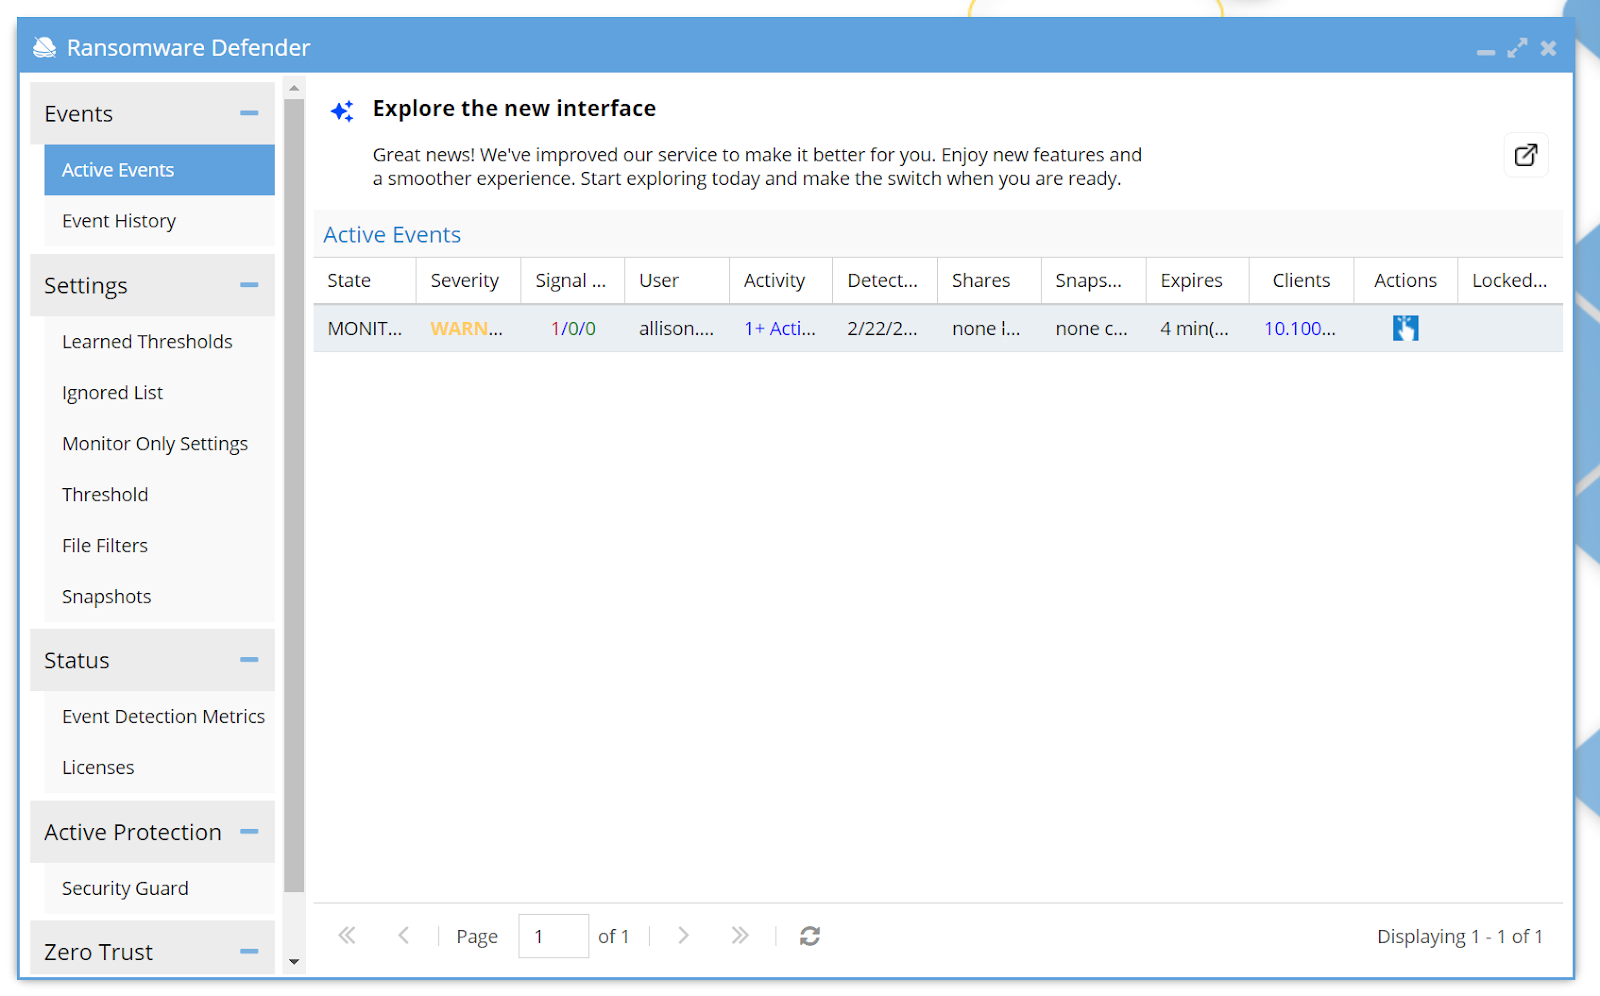
Recovery Manager can be accessed in both Active Events and Event History. However, the Recovery Manager information will expire after a week if the events are in Event History.
Active Events
In the Active Events menu, the user can see the list of active events and information about them.
To manage the Event, click on the following icon in the Action column.
The Action modal window will show the Event Action History. To recover this action, click on the Cyber Recovery Manager.
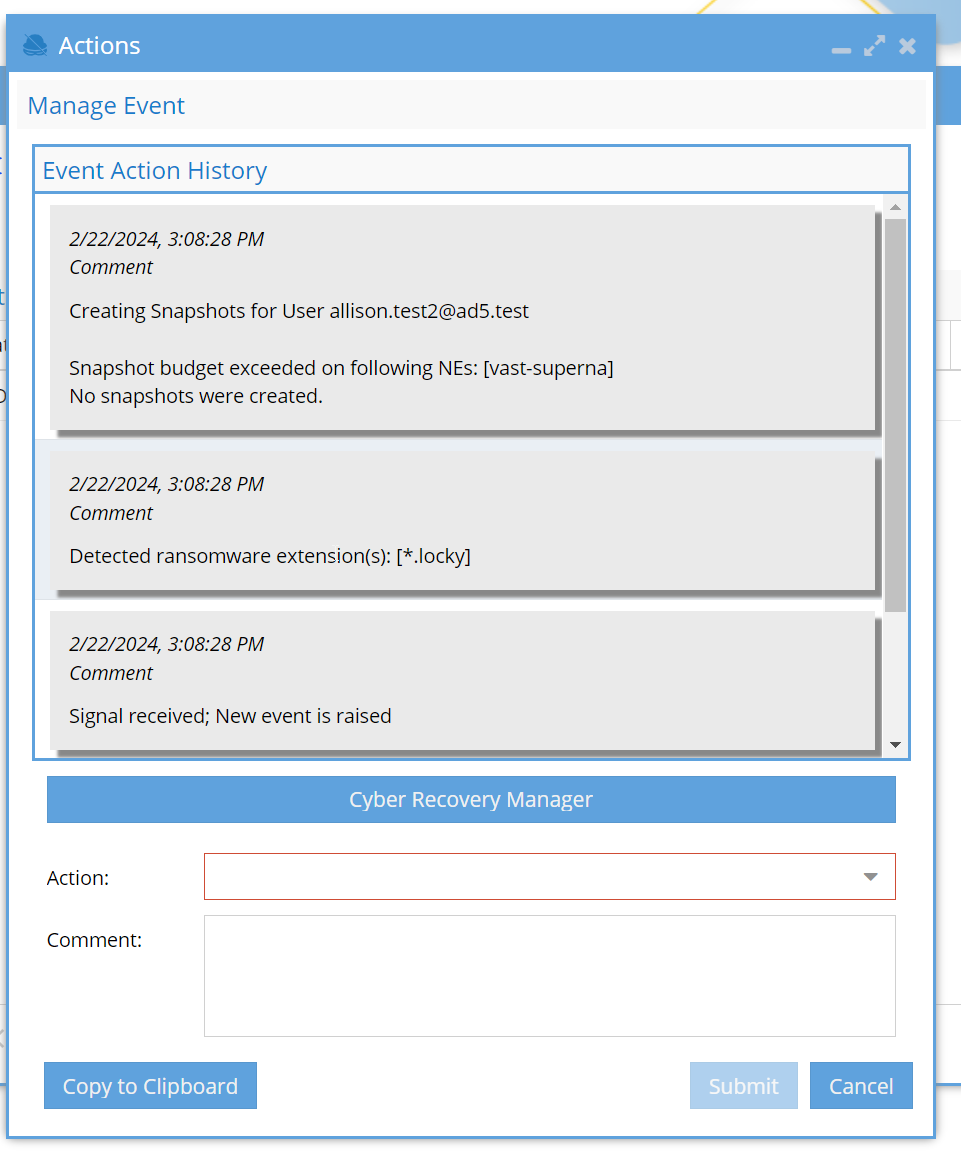
Cyber Recovery Manager
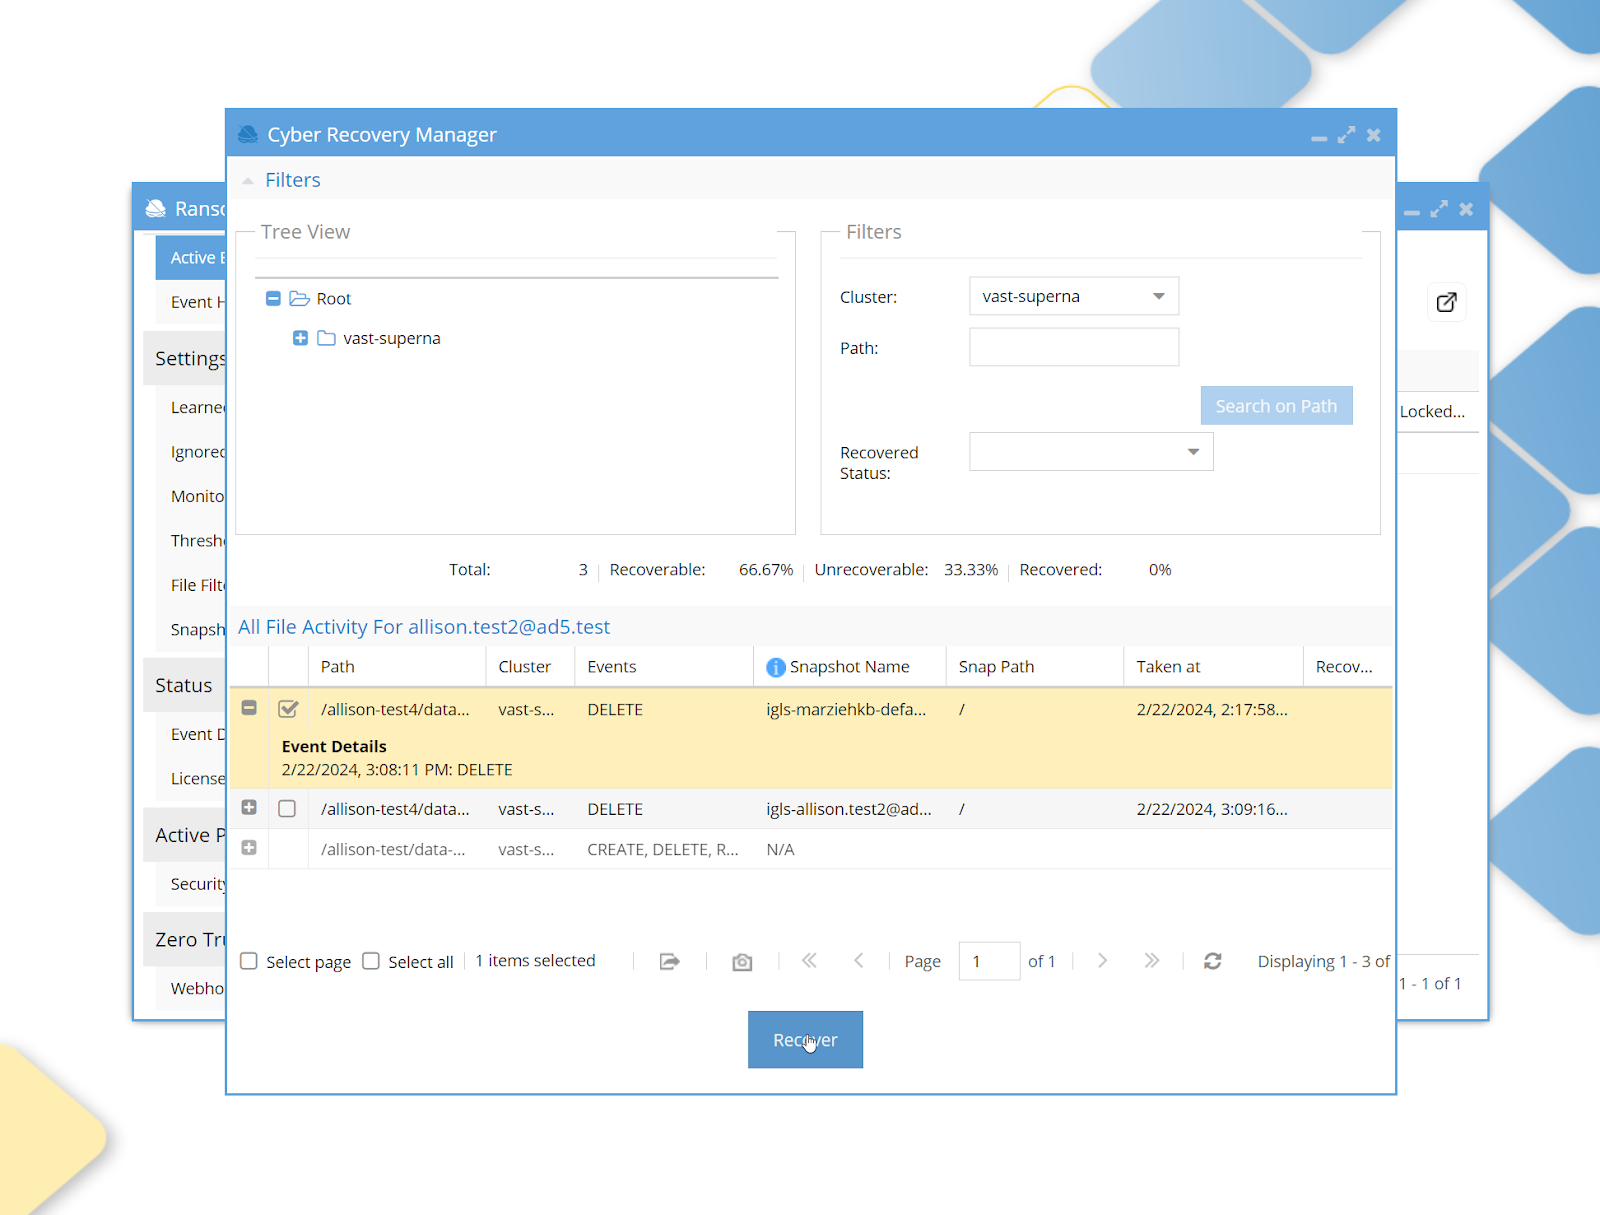
Tree View
All the files from the cluster will be displayed in the Tree View area.
Filters
In the Filters area, user can filter events by:
- Cluster. Select the cluster from the dropdown list.
- Path. Copy and paste the event path to do that or select the path from the tree to automatically filter on that path, then click the Search on Path button.
- Recovered Status. Select the desired status, and events in the All File Activity table will be filtered by status. Note: It is impossible to recover the event with UNRECOVERABLE status. Unrecoverable files don’t have snapshots.
Statistics
In the statistics area, information on events is displayed.
All File Activity for the user
The file activity is displayed on the bottom panel for a particular user.
To see how this file path has been modified, click on the + button.
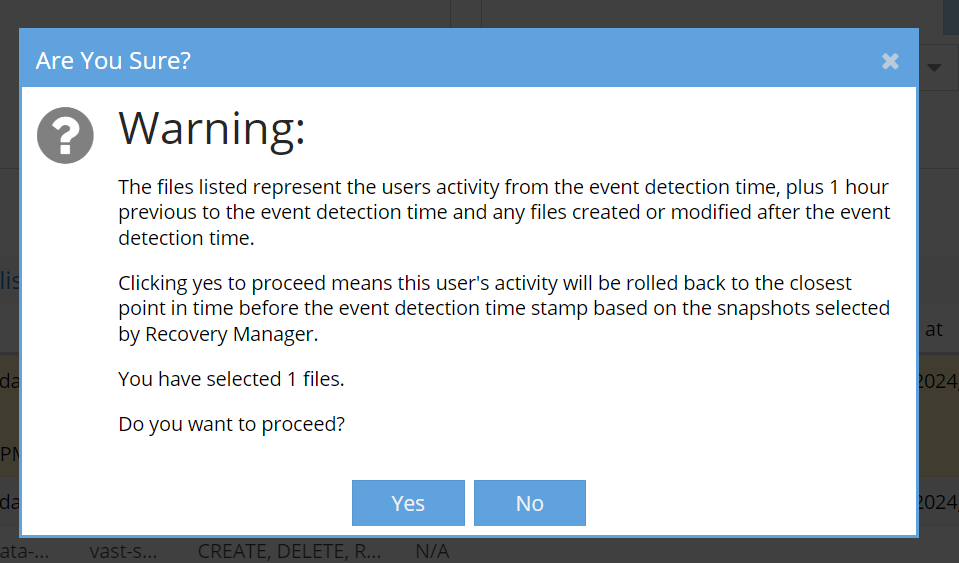
Select the event and press the Restore button. On the Warning window, click No.
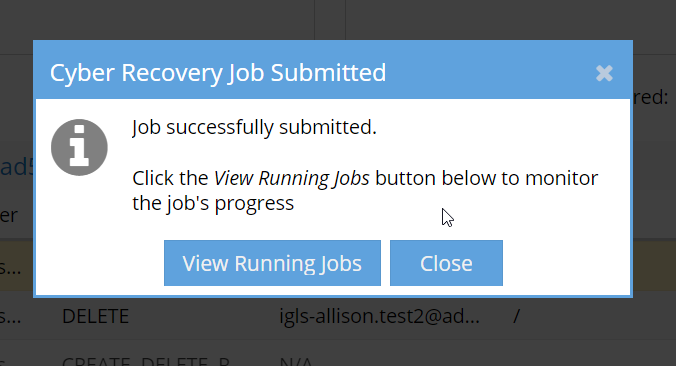
After submitting the Cyber Recovery Job, click the View Running Jobs button below to monitor the job’s progress.
Event History
All events will be displayed in the Event History menu. The events shown in the Event History will expire after a week by default, but the value can be changed in the ECA settings.
Limitations
-
Only the default tenant is supported.
-
The ACLS are not restored to the exact state they were before.