Post-Deployment Environment Setup
Introduction
With DR Deployed, the environment must be set up in the software. Topics like registering a license, and adding clusters are all covered inside this guide.
Register Superna License
Retrieve the Superna Disaster Recovery Edition license keys from the Zendesk case by following these steps:
-
Login to the Superna Support Desk.
noteEnsure a valid support account is logged in to access the license key download dialog box.
Submit the license request by entering the Appliance ID and Transaction Token as provided in the license email.
noteThe Appliance ID and Transaction Token must be entered exactly as shown on the license email, with all dashes and without any leading or trailing spaces.
Ex. EMC-xxx-xxx-xxx-xxx
-
Download the provided zipped license file.
warningDo not unzip the license file; the .zip file will be uploaded in the next step.
-
Upload License File Click License Management > Manage Licenses > Browse
Upload the zipped file downloaded in the previous step.
noteAfter clicking Upload, the Eyeglass EULA must be accepted to continue the process.
Add Clusters
Ensure that both the source and target clusters comply with the support feature matrix. Additionally, all cluster replication pairs should operate on a version that is listed and supported as per the System Requirements / Feature Release Compatibility matrix.
-
Open Eyeglass UI
Open the Eyeglass UI to get started. -
Select Add Managed Device
In the Eyeglass Main Menu, select Add Managed Device to start adding cluster configurations. -
Provide Cluster Details
Provide the cluster details as prompted by the interface.- VAST
- Qumulo
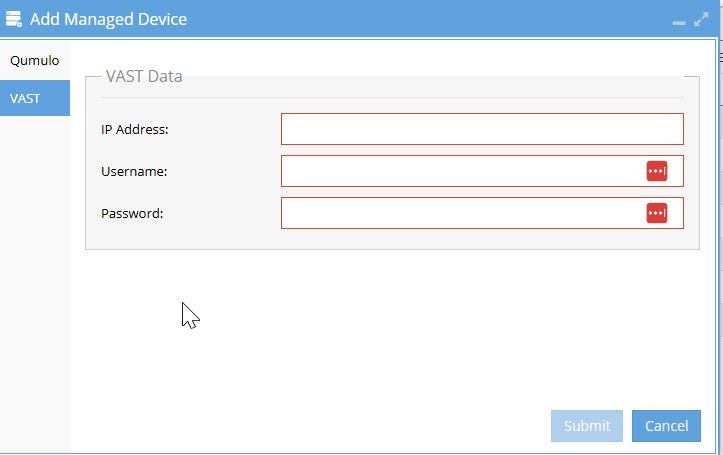
- IP Address: Provide the IP address of the VAST cluster management interface.
- Username and Password: Input the username and password of the VAST service account with appropriate permissions.
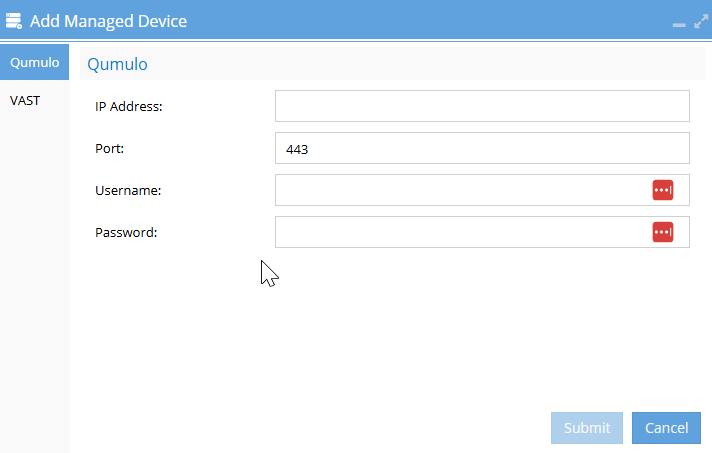
- IP Address: Provide the IP address of the Qumulo cluster management interface.
- Port: Default to
443for HTTPS connections unless there is a requirement for a different port number. - Username and Password: Input the username and password of the Qumulo service account with appropriate permissions.
-
Submit Form
Submit the form to add the cluster to Eyeglass.
Verify Inventory Collection
After adding a cluster, Superna DR Edition initiates an automatic inventory task to identify and catalog the cluster's components.
The inventory discovery process typically takes between 5 to 10 minutes.
Once this inventory task completes, the results are displayed in the Inventory View.
To access this, click the Inventory View icon.
This will open the Inventory View window, showing a list of all managed devices.
The Inventory View does not auto-refresh. To view the most up-to-date information, manually refresh the page by clicking the Refresh button located at the bottom right corner of the GUI.
Remember: The inventory discovery process typically takes between 5 to 10 minutes.
Monitor this process and verify that all components have been correctly added and displayed.
Enable/Disable Jobs
This section will walk you through the process of enabling or disabling jobs, including bulk actions for managing multiple jobs at once.
-
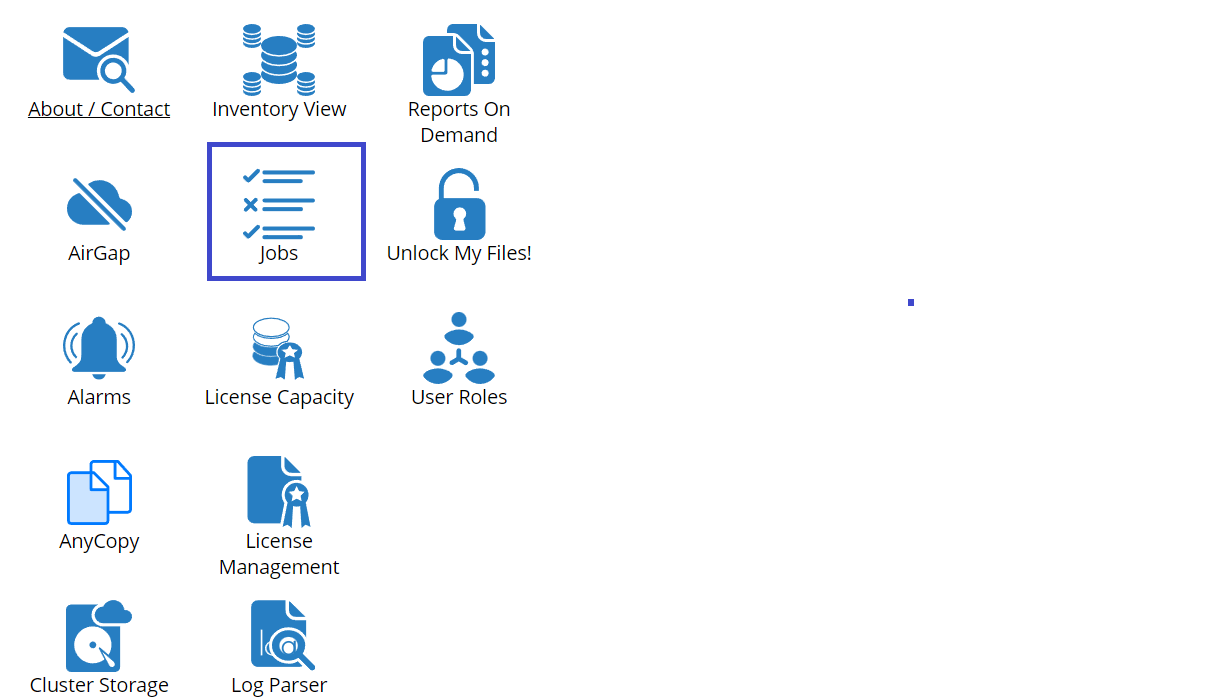
Open the Eyeglass Main Menu
From the main dashboard, locate and click the Jobs icon, which is located in the top-middle section of the screen and represented by a checklist icon.
-
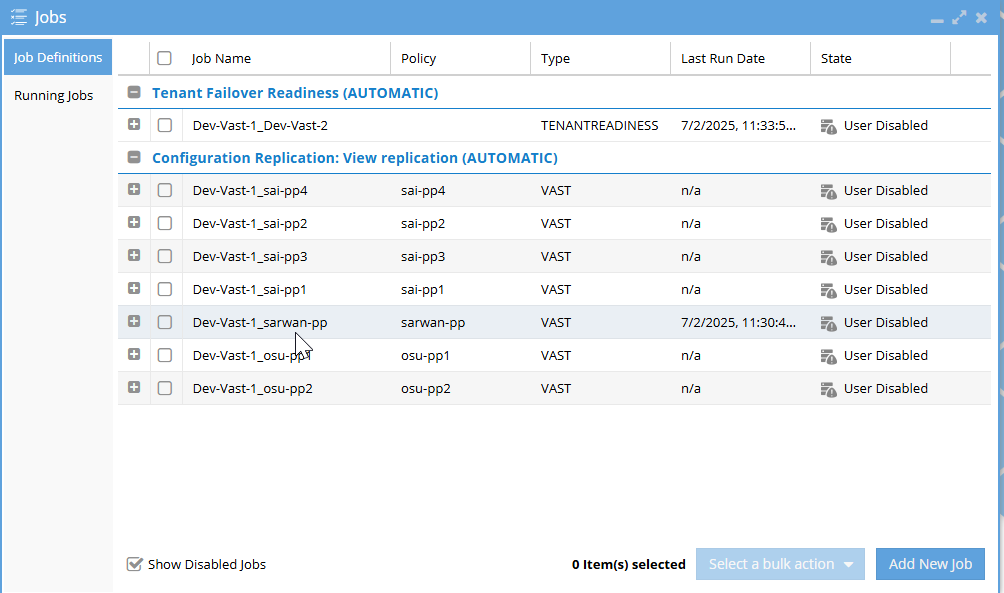
View the Jobs List
Once the Jobs window is open, you'll see a list of available jobs. You can view details such as the job name, policy, type, last run date, and the current state.
-
Select Jobs to Enable or Disable
Check the box next to the jobs you want to enable or disable.
infoYou can select more than one job at the same time by checking multiple boxes.
-
Use the Bulk Action to Enable or Disable Jobs
After selecting the jobs, look at the bottom right of the window for the dropdown button labeled Select a bulk action. Click on this button and choose either Enable or Disable based on the action you want to perform.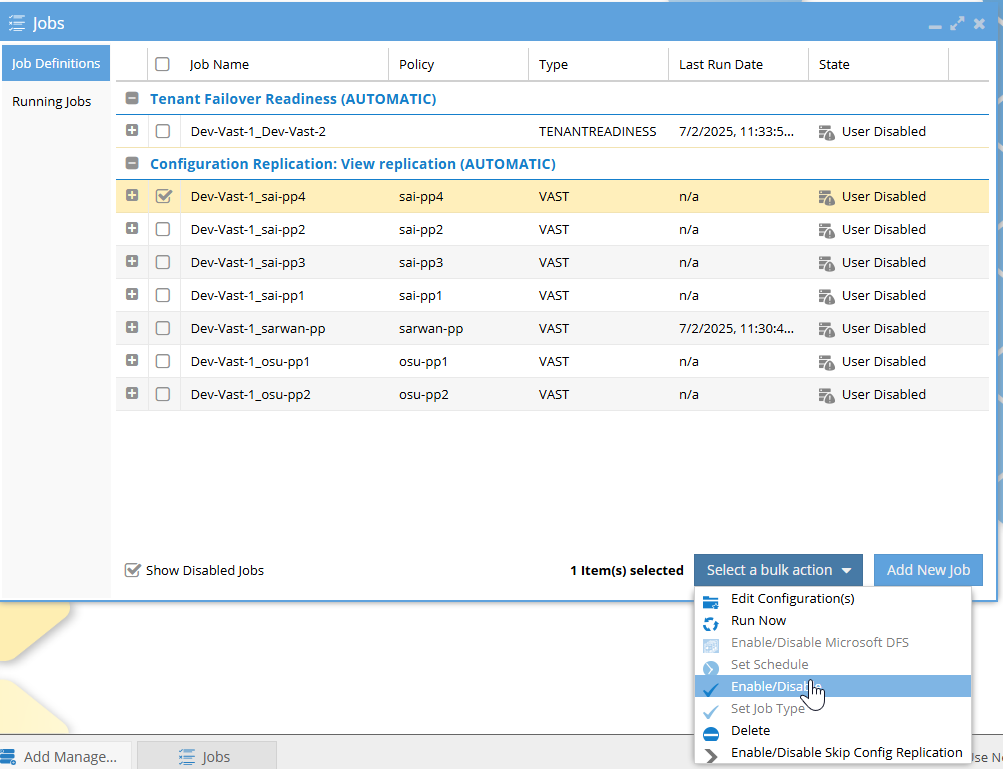
-
Effect of Enabling the Job
infoOn the next Configuration Replication cycle, the enabled Job will be run.
This process allows you to manage multiple jobs efficiently by enabling or disabling them in bulk.
Setup Notifications
Configure SMTP
Enter the information for an email server by clicking Notification Center > Configure SMTP in the Eyeglass Main Menu:
To continue the configuration of SMTP:
-
In the Host name: textbox enter the host name for the email server.
-
In the Port textbox, type the port which should be used for sending email.
-
In the From: textbox, enter the email address of the sender of the email. Any String before and after @ is accepted:
Syntax:
xx@y,xx@y.zE.g.:alerts@eyeglass,alerts@eyeglass.com, etc. -
Tick the Use Authentication: checkbox if email server requires an authenticated login.
-
In the User: textbox, provide the user or email address required for authentication.
-
In the Password: textbox, provide the password for authentication.
-
Tick Enable TLS: checkbox if the email server expects TLS communication.
-
Alarm Severity Filter: Select level of alarms to receive emails for. Note that alarms more severe than the selected filter are also emailed.
- Use the Test Email Setting button to check that the email server information added is correct. If an error occurs, there are error codes from the SMTP connection. The "no error" response indicates a successful connection. If an error is returned the debug response should be sent to https://support.superna.net.
Save the changes.
Configure Email Recipients
Enter the information for email recipients by clicking Eyeglass Main Menu > Notification Center > Manage Recipients.
-
Enter the email address in the Email Recipient: textbox.
-
Select the report type for this user to receive. The following options are available:
-
All (All Reports & Alerts)
-
Reports (RPO, cluster configuration)
-
Auditor Only Reports (All reports and email notifications for Easy Auditor)
-
Quota Management (Quota Usage reports for Cluster Storage Monitor solution)
-
Data recovery+ (Cluster Storage Monitor product Data Recovery portal emails)
-
Click the Add/Edit button.
-